Grok Imagine Image

Create fast, detailed visualswith Grok Imagine Image 2.0

Create product visuals, campaign concepts, social graphics, and original artwork from a natural-language prompt. Grok Imagine Image 2.0 is ready for your next idea.

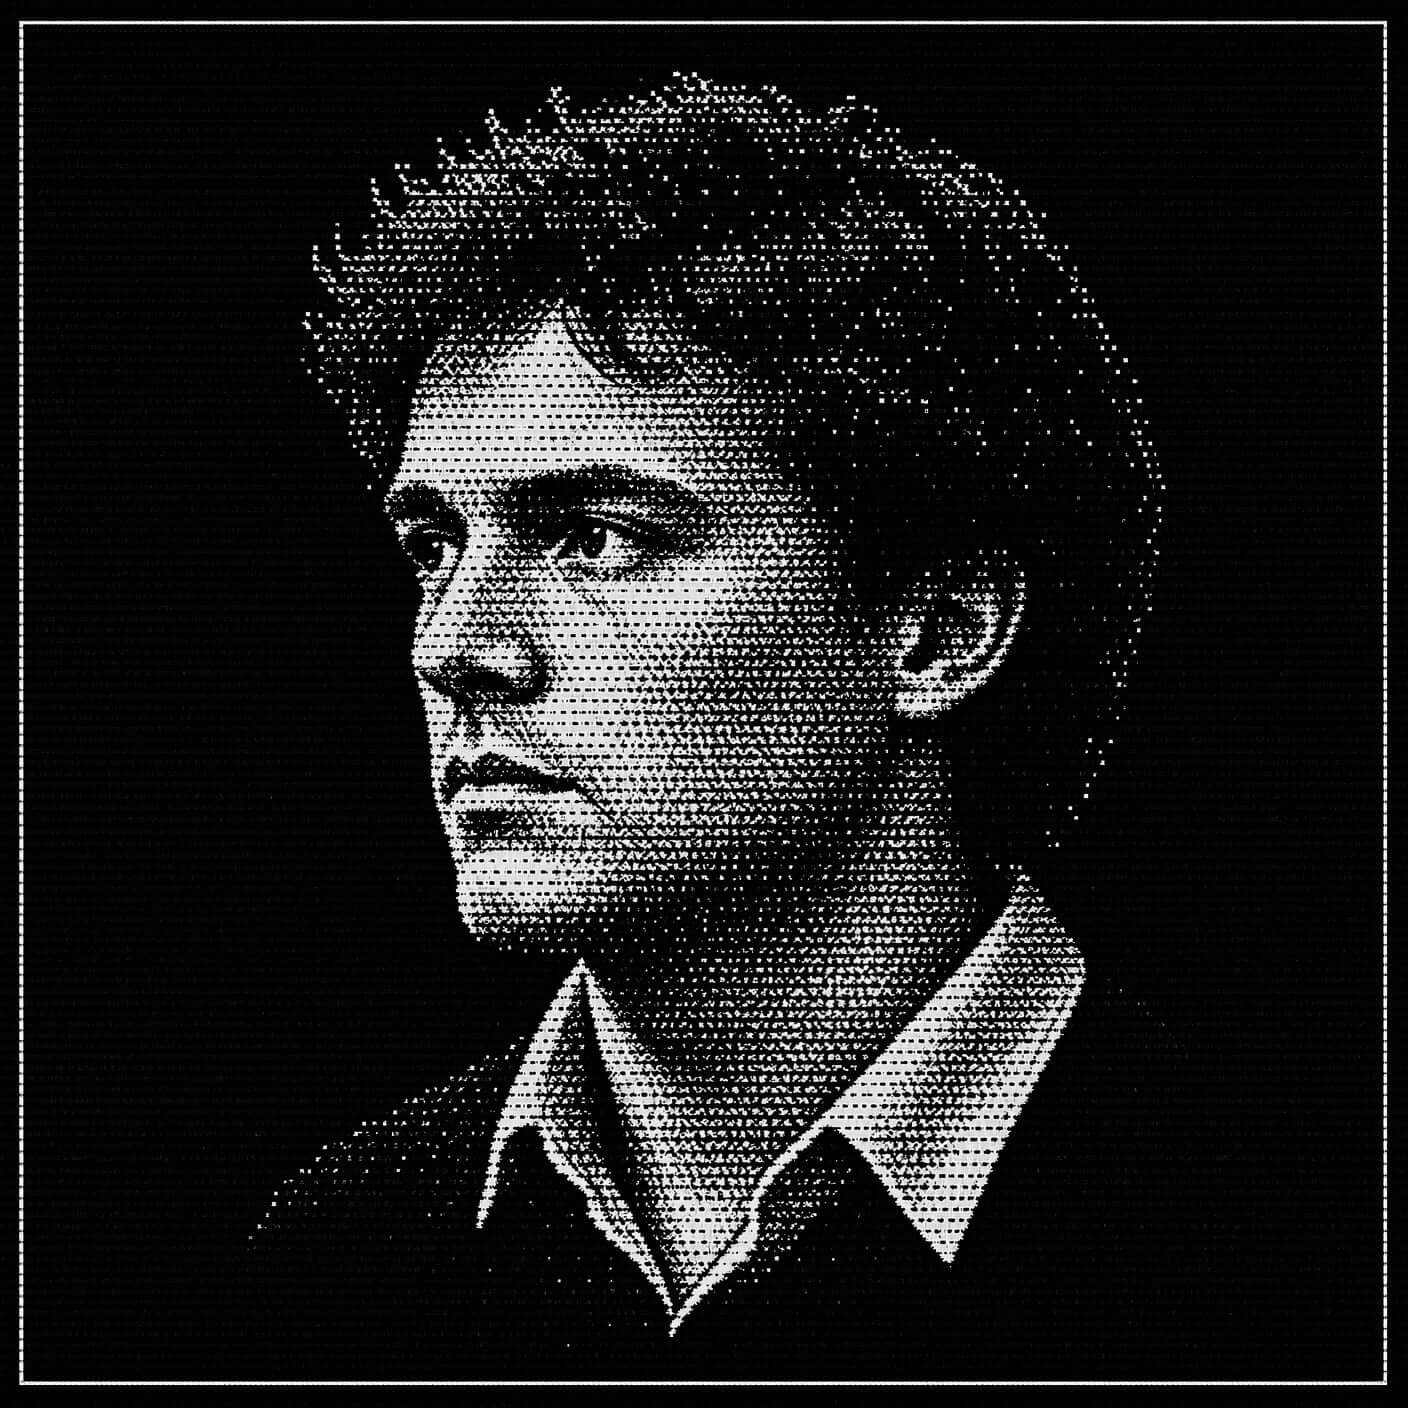
High-contrast halftone portrait of a young man rendered entirely in fine white dots on black
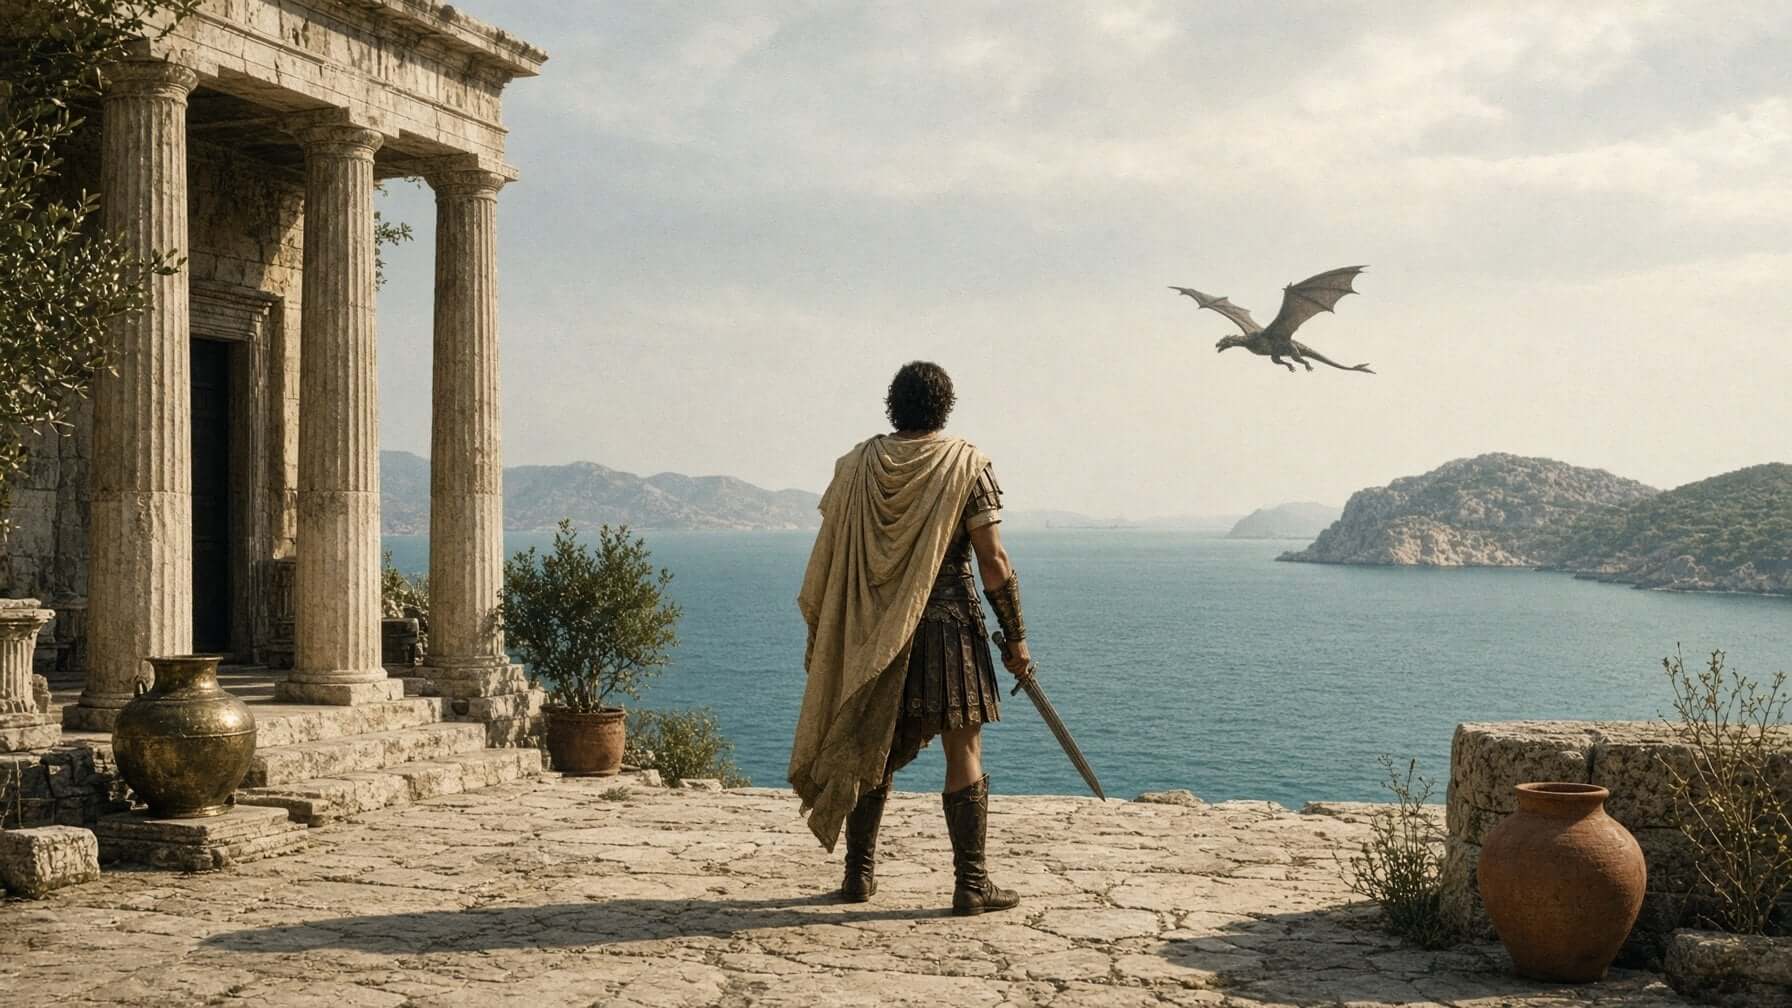
Caped swordsman on a clifftop temple terrace watching a dragon glide over an Aegean bay
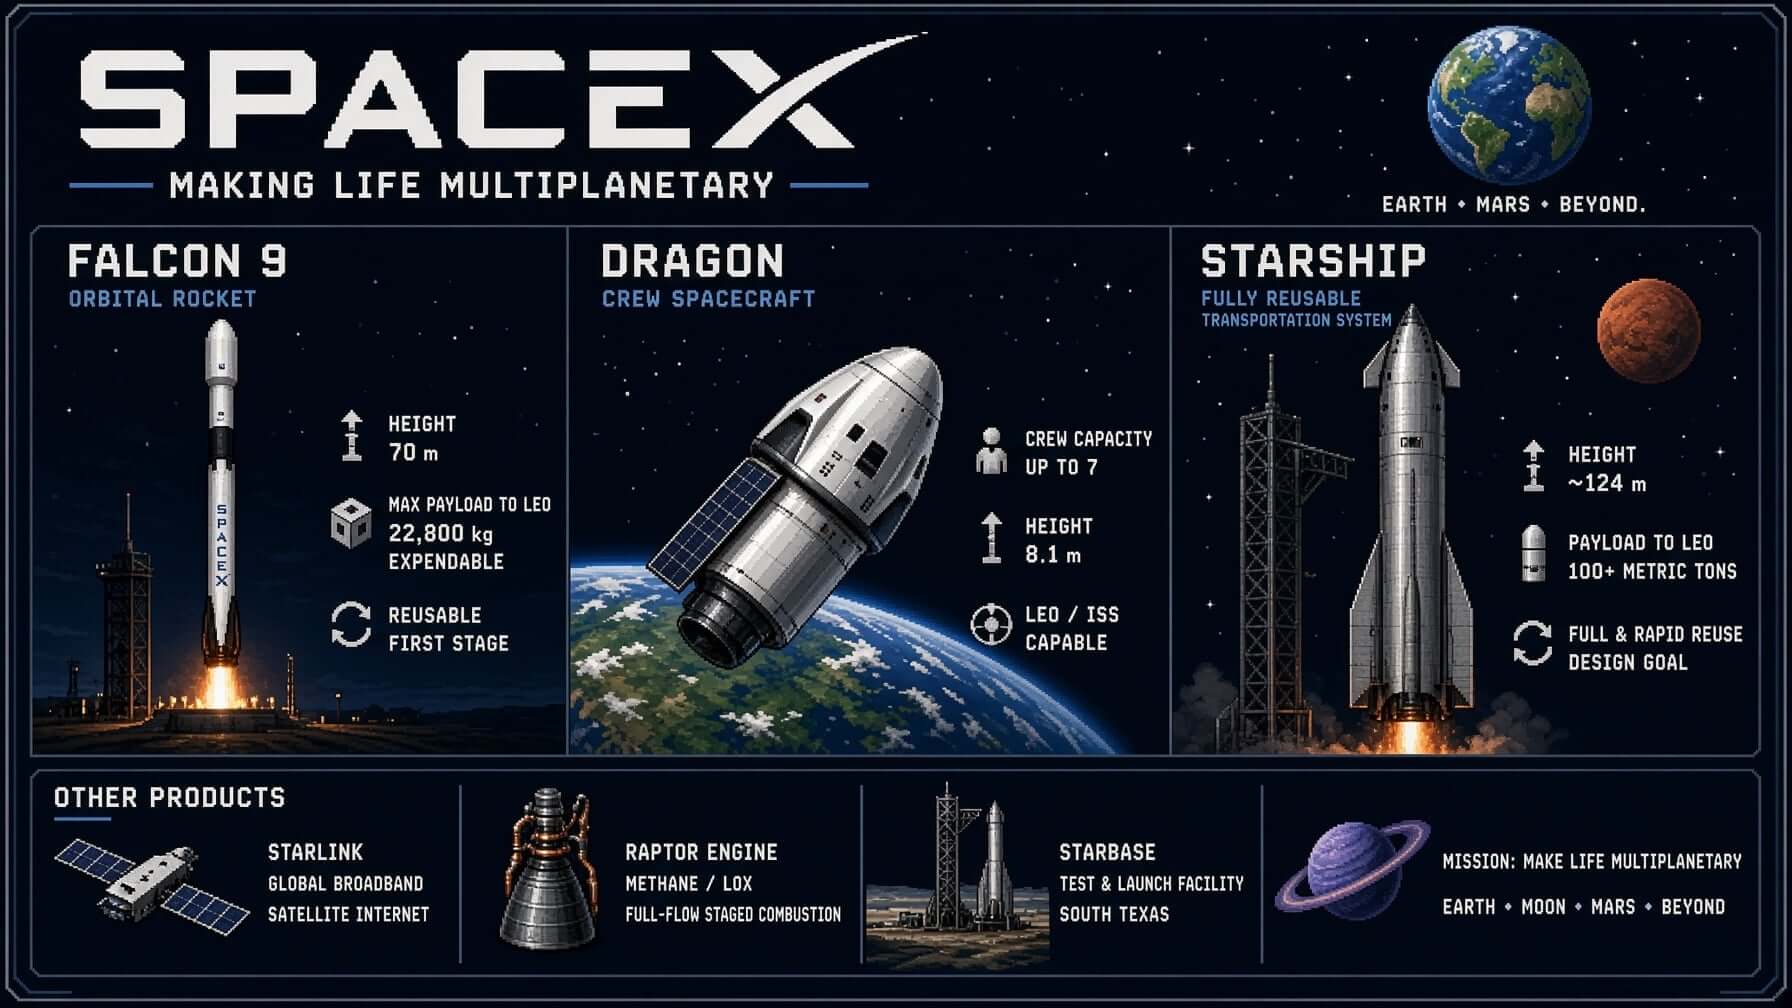
Pixel-art SpaceX infographic charting Falcon 9, Dragon, and Starship
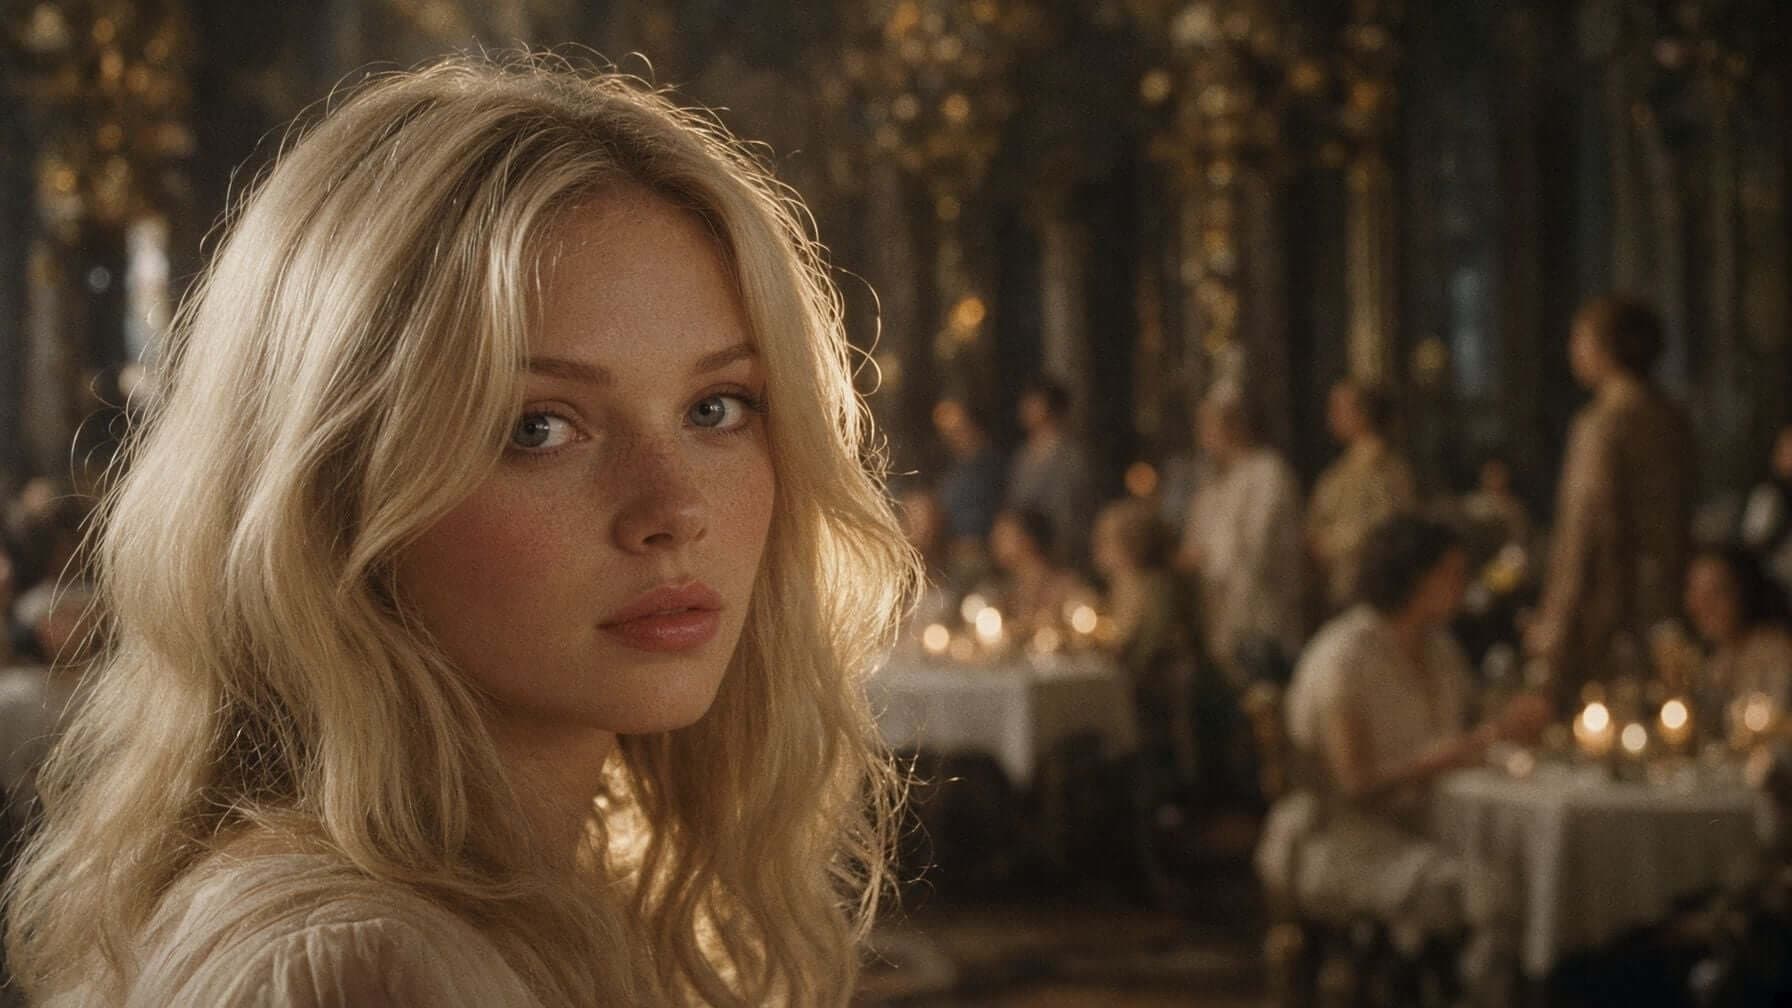
Cinematic close-up of a blonde woman glancing back across a candlelit ballroom
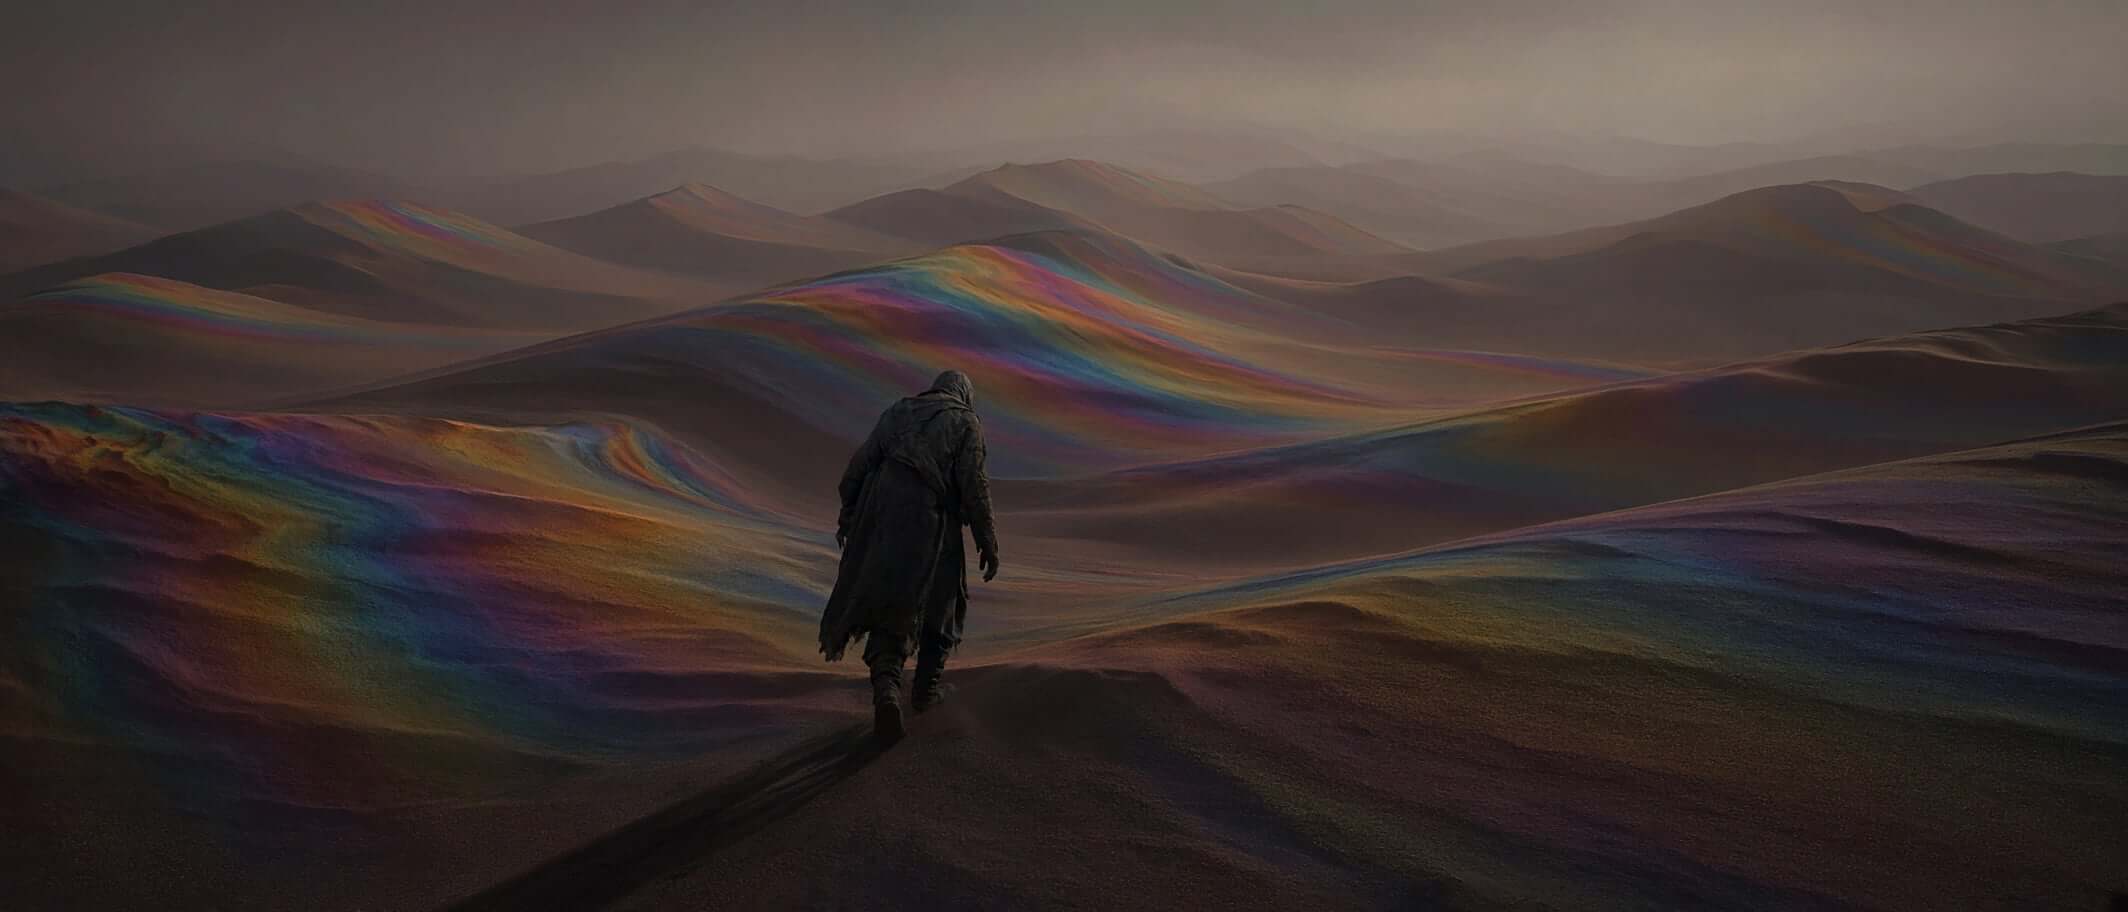
Cloaked figure crossing dunes streaked with iridescent color
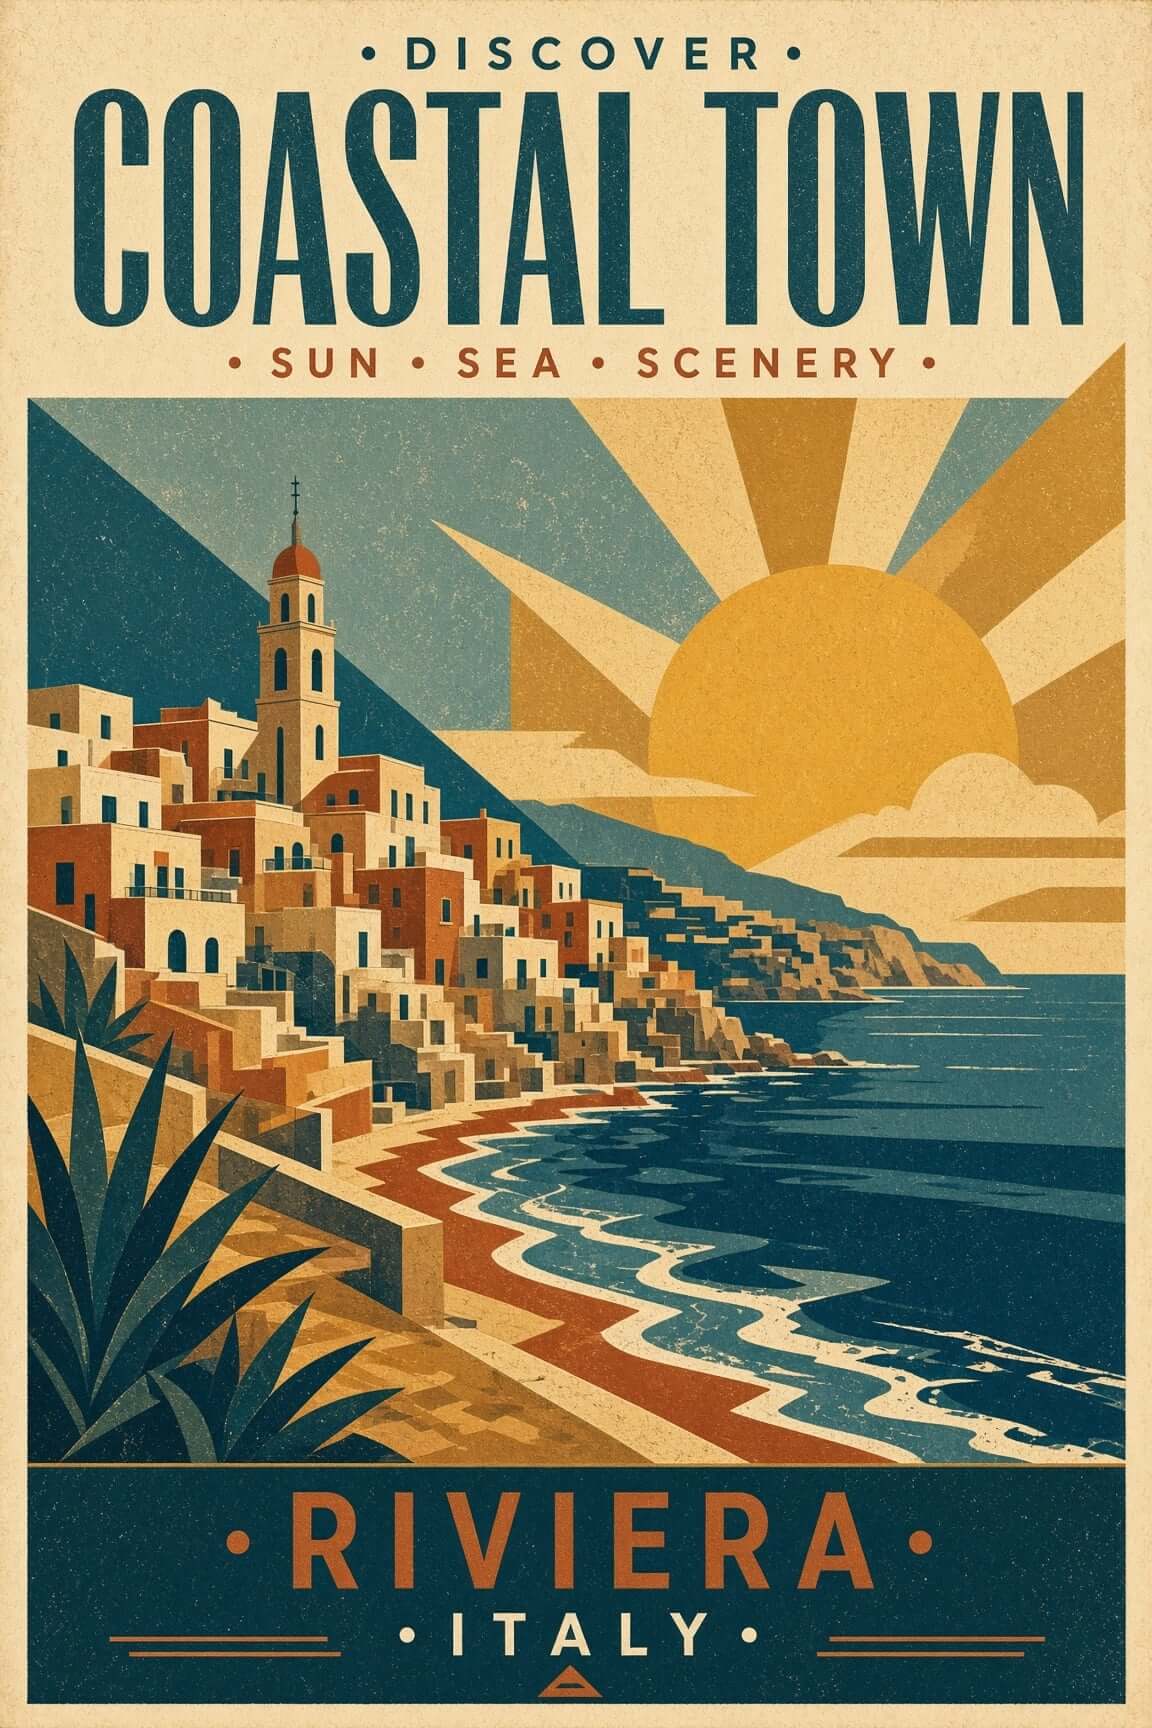
Vintage travel poster of an Italian Riviera coastal town
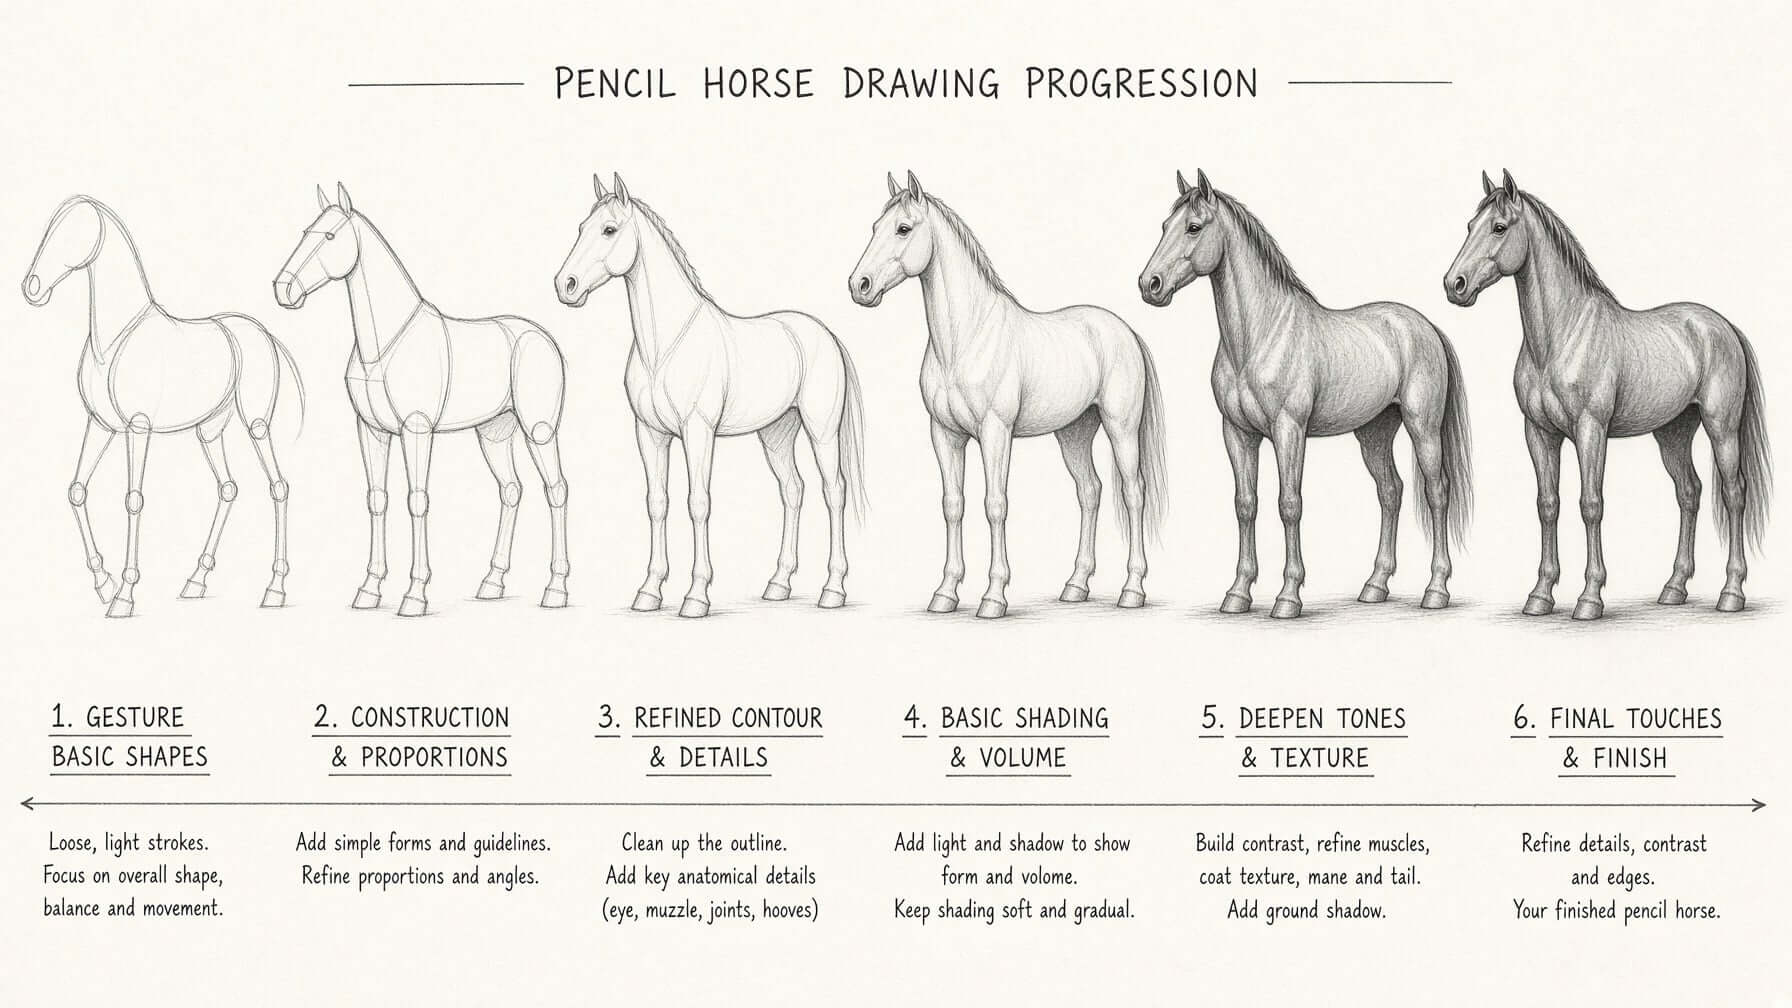
Step-by-step pencil horse drawing tutorial sheet
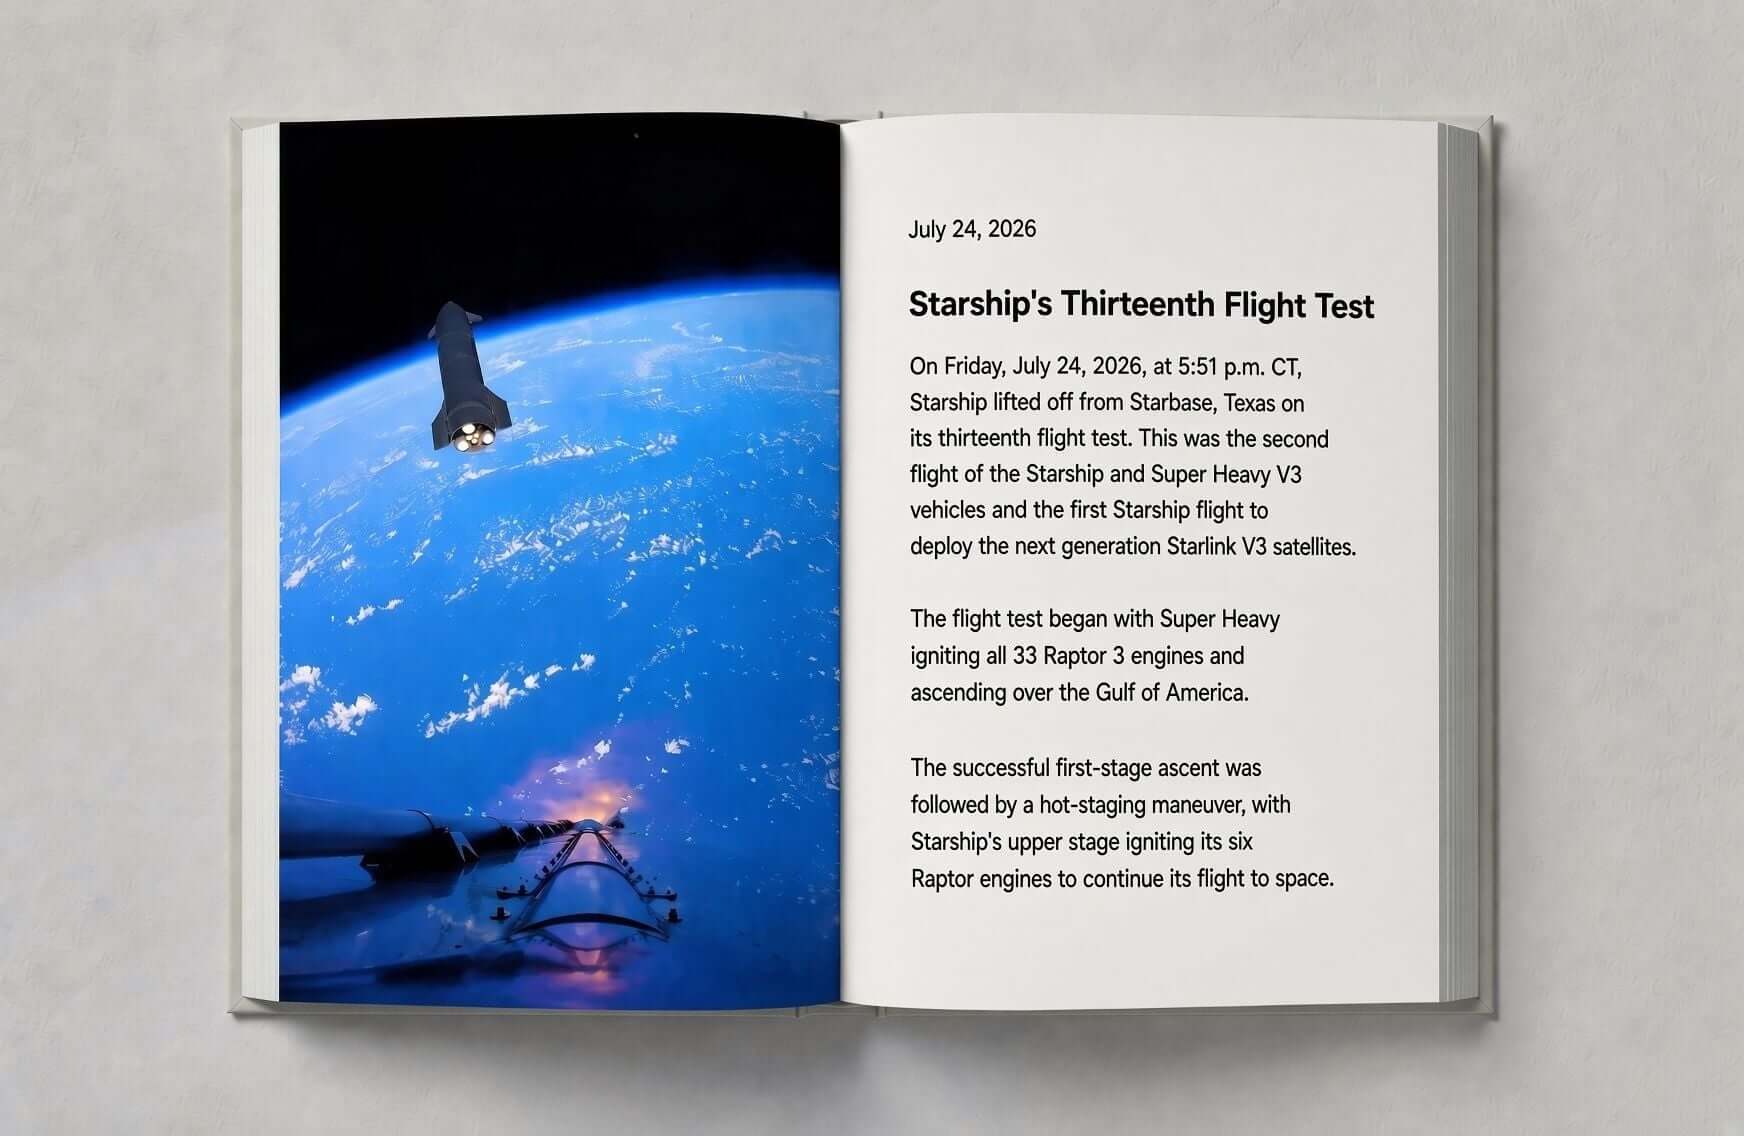
Open photo book spread on the thirteenth Starship flight test
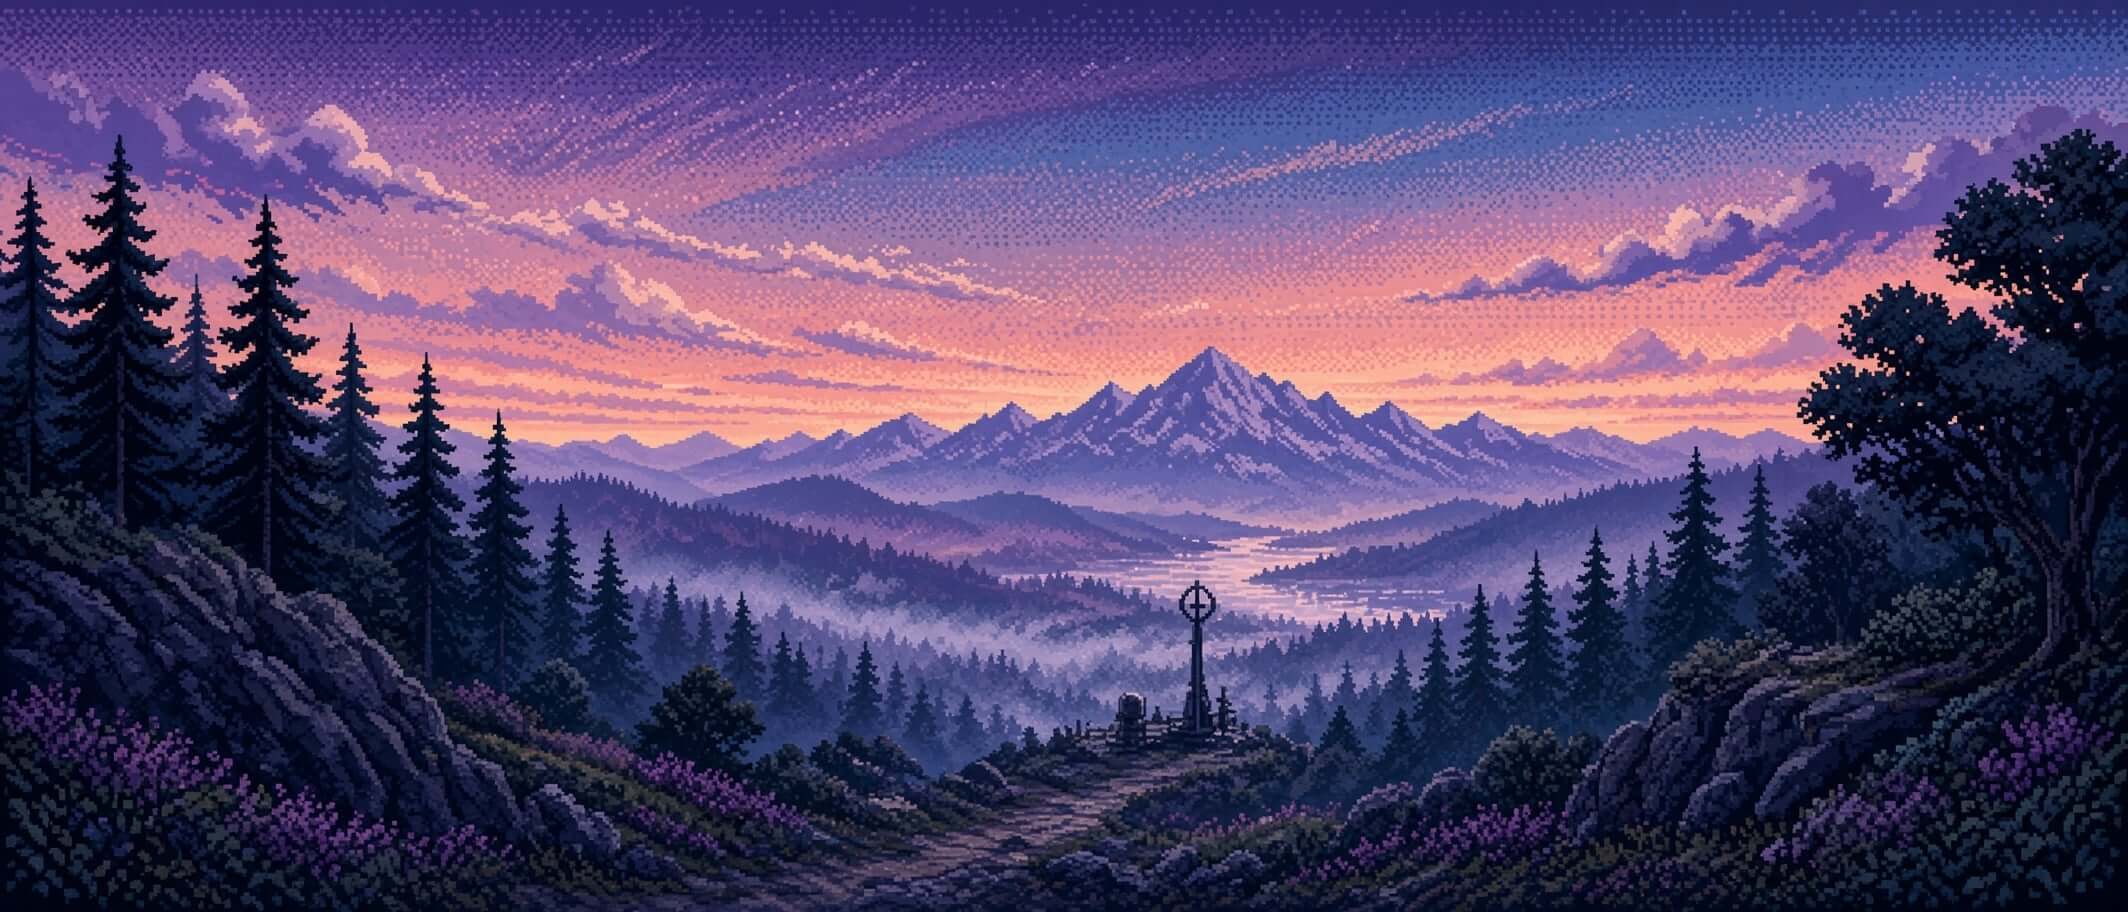
Pixel-art twilight valley with pine forests and a distant mountain
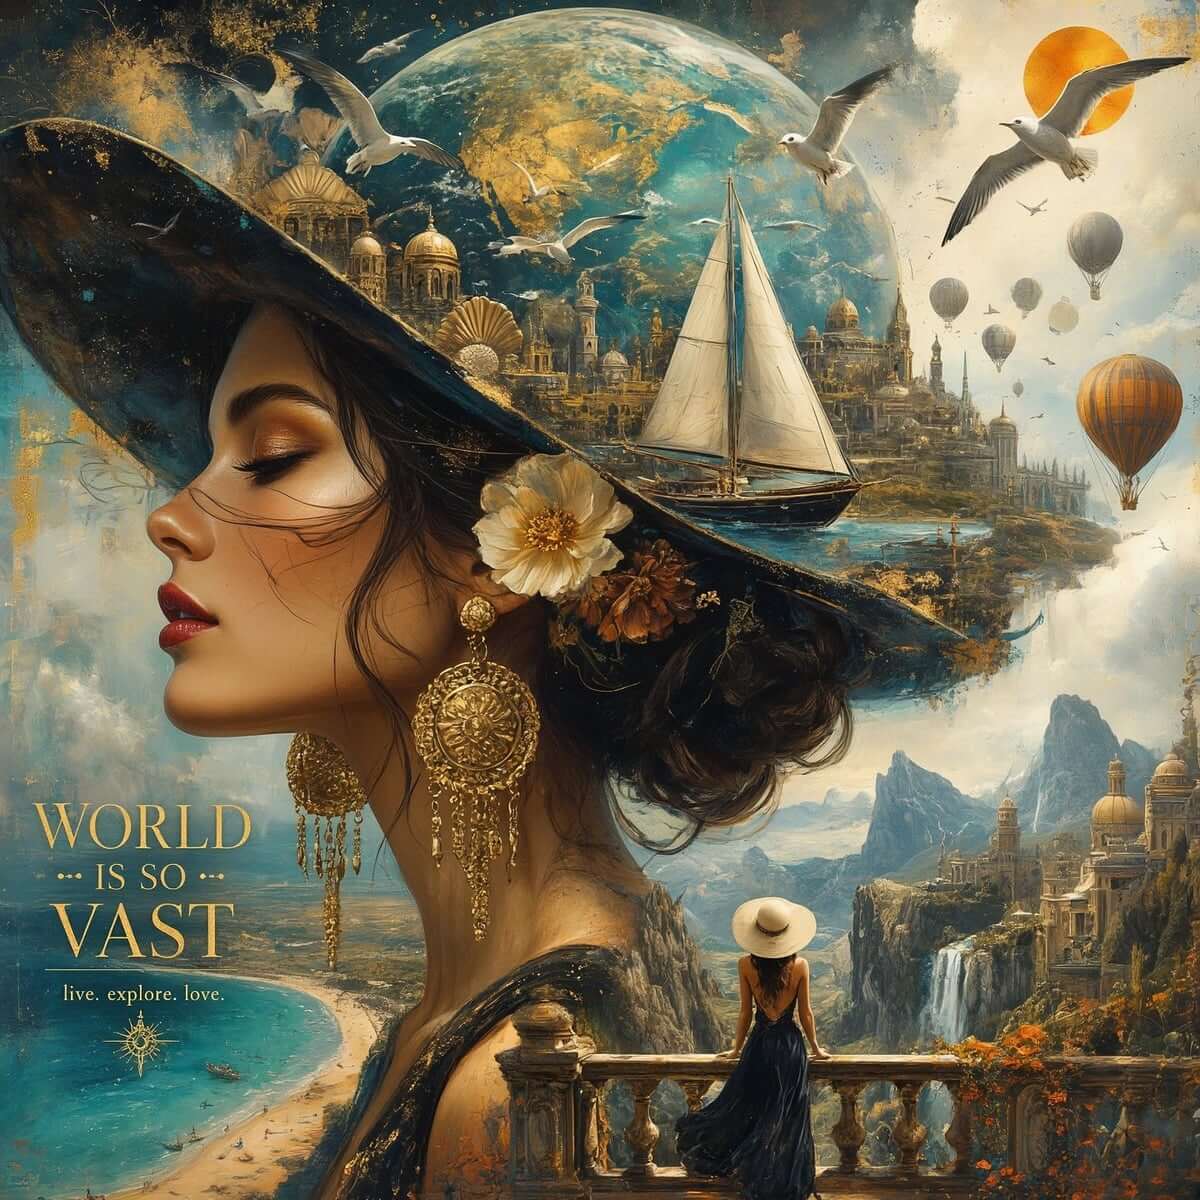
Surreal travel poster of a woman with a world of ships and cities in her hat
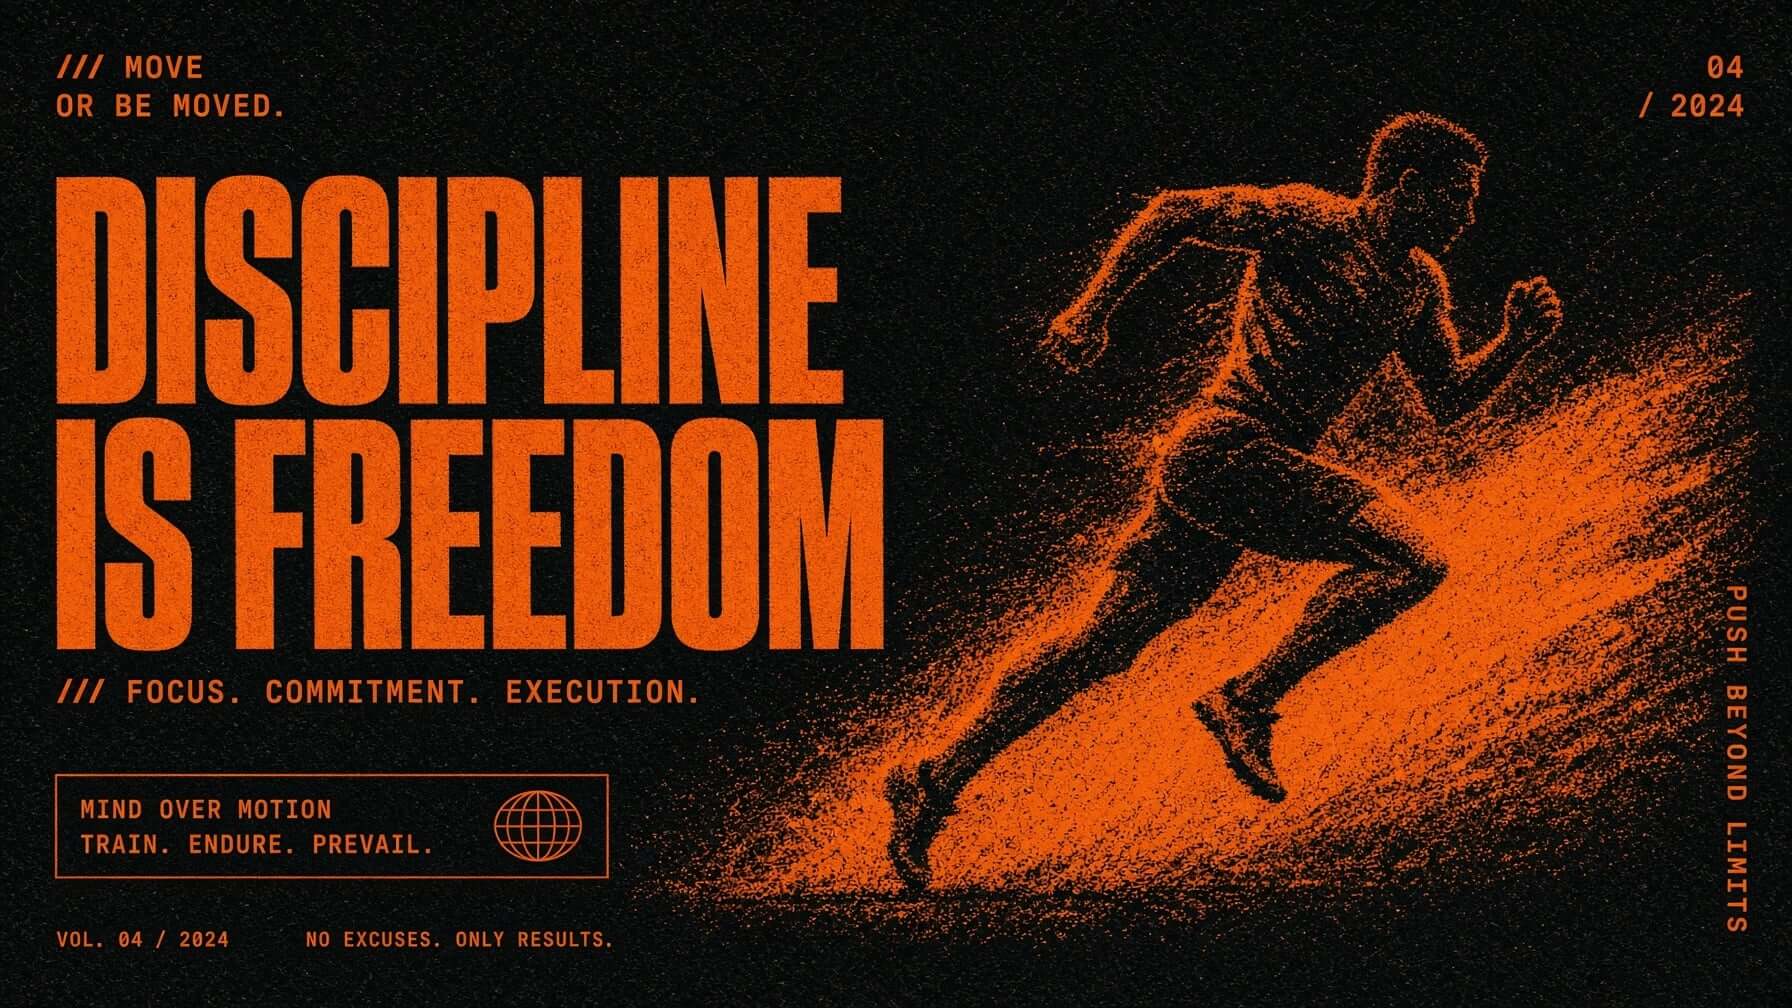
Gritty motivational poster of a sprinting runner in orange and black
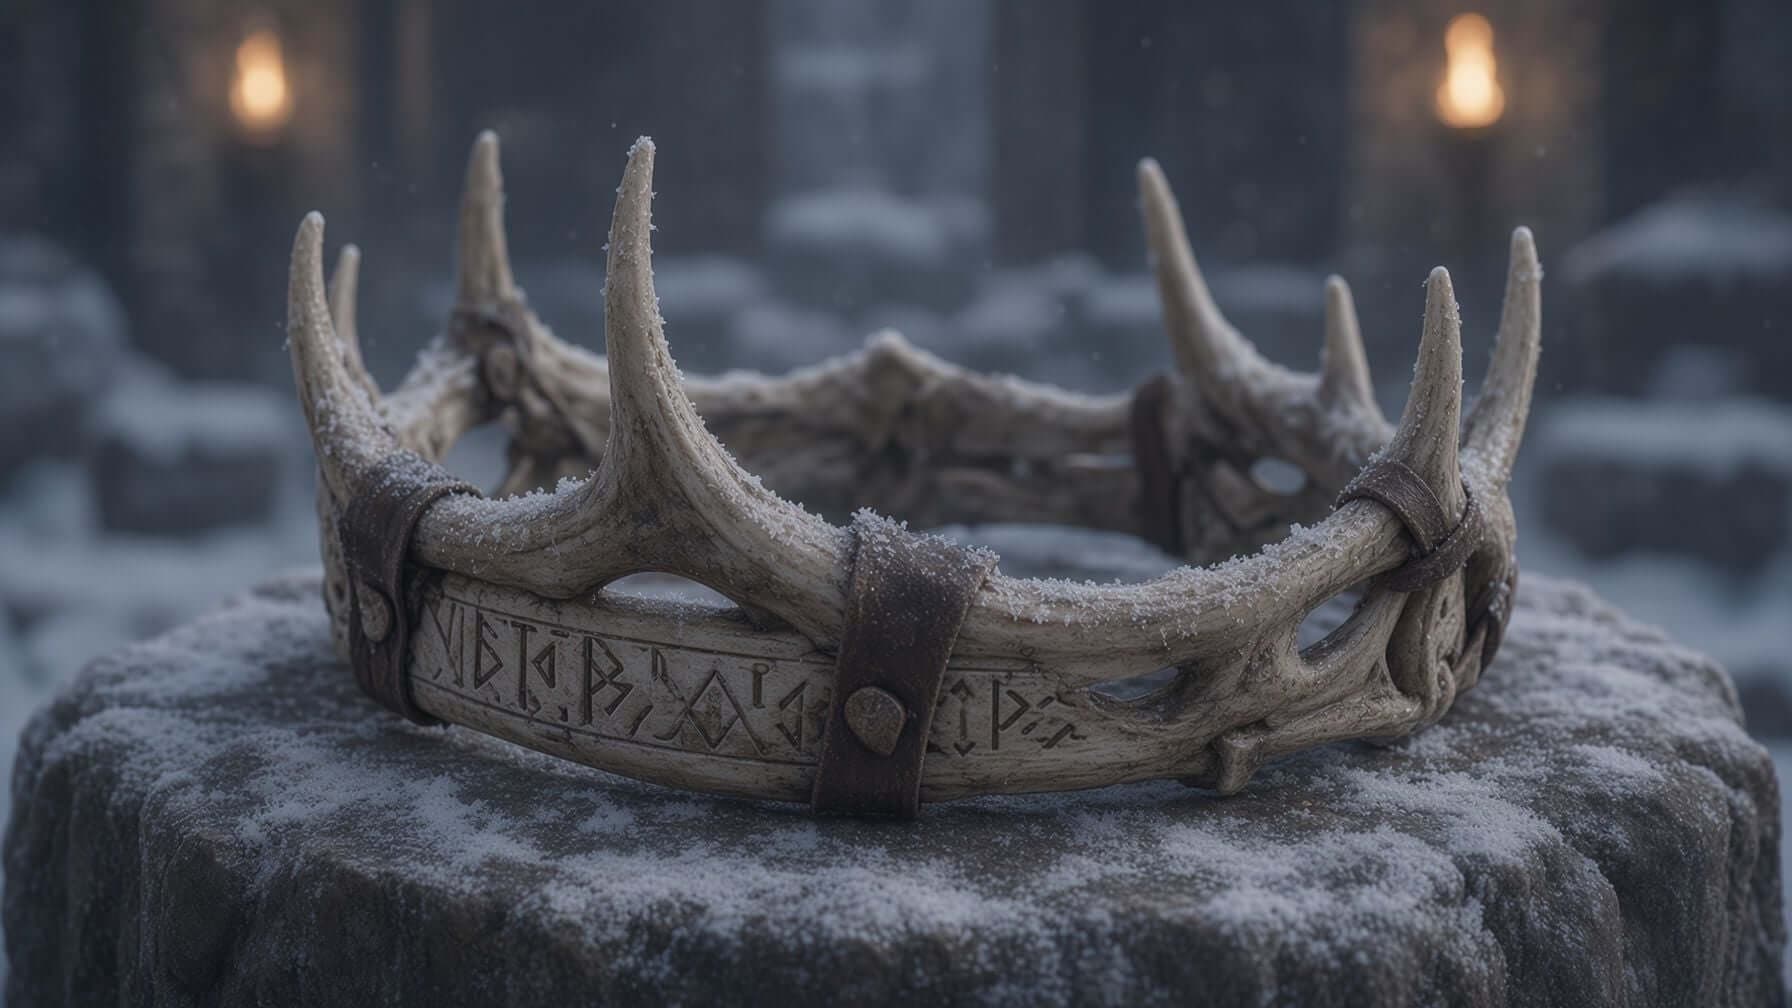
Rune-carved antler crown resting on a snow-dusted stone plinth
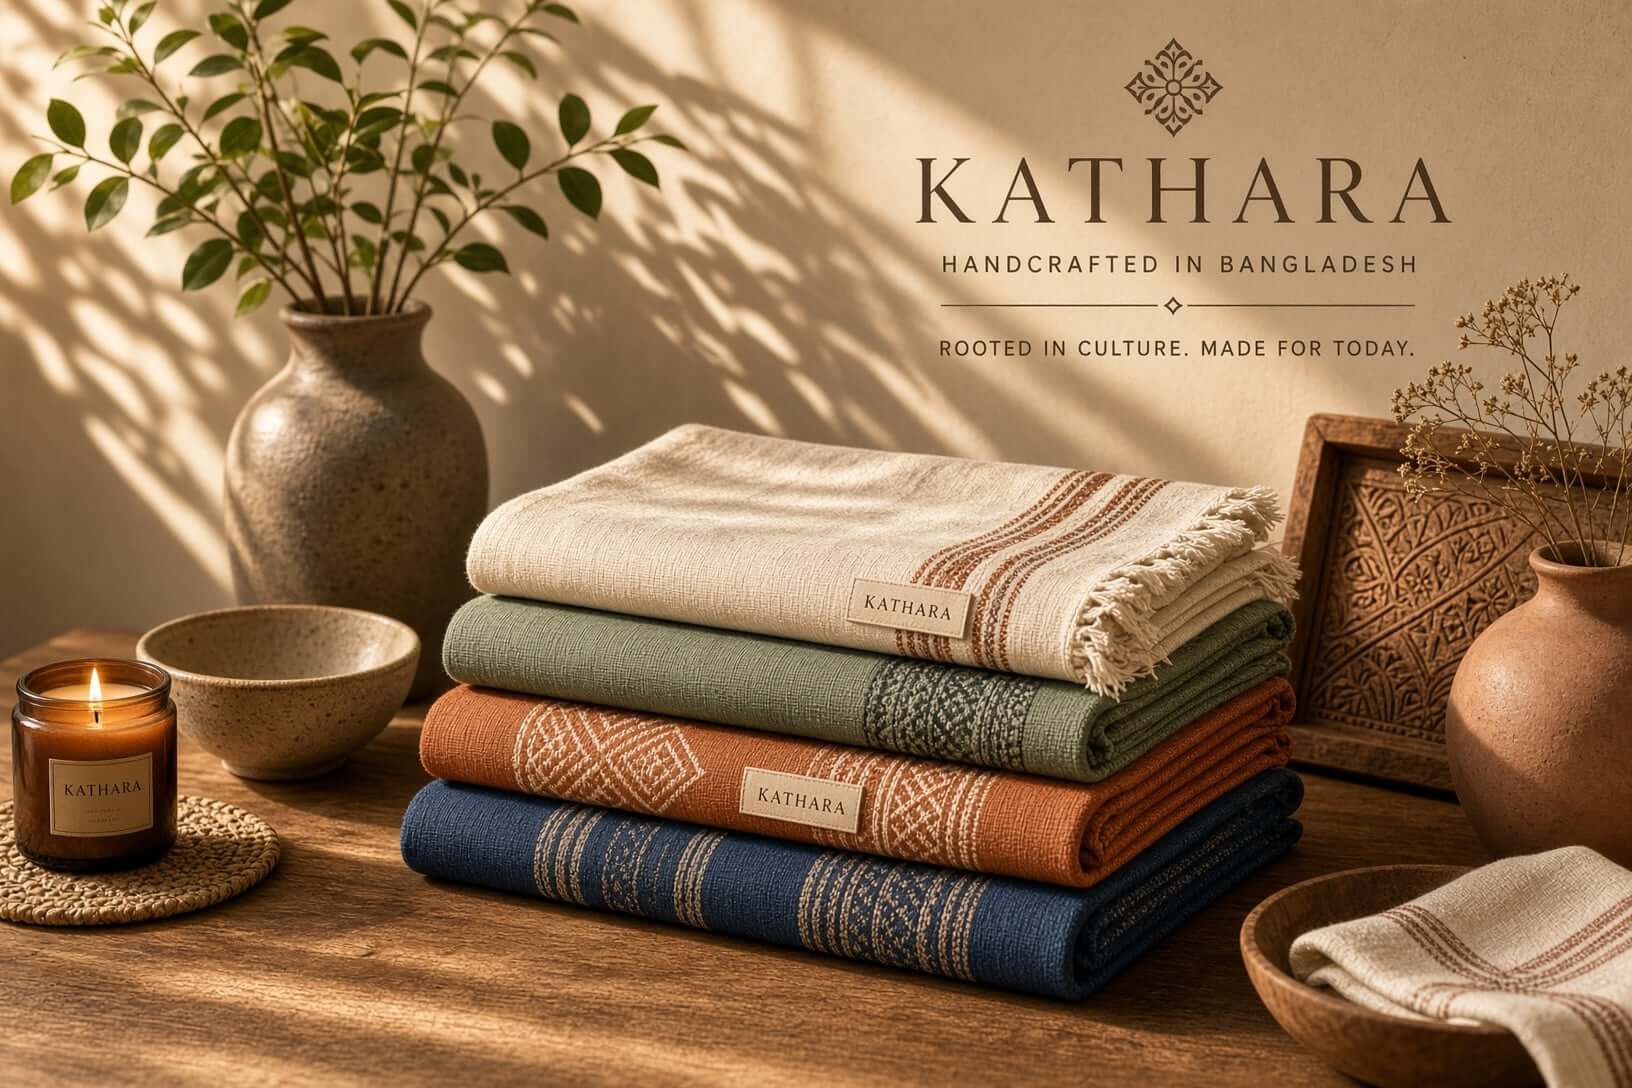
Product photo of handwoven textiles stacked on a wooden table
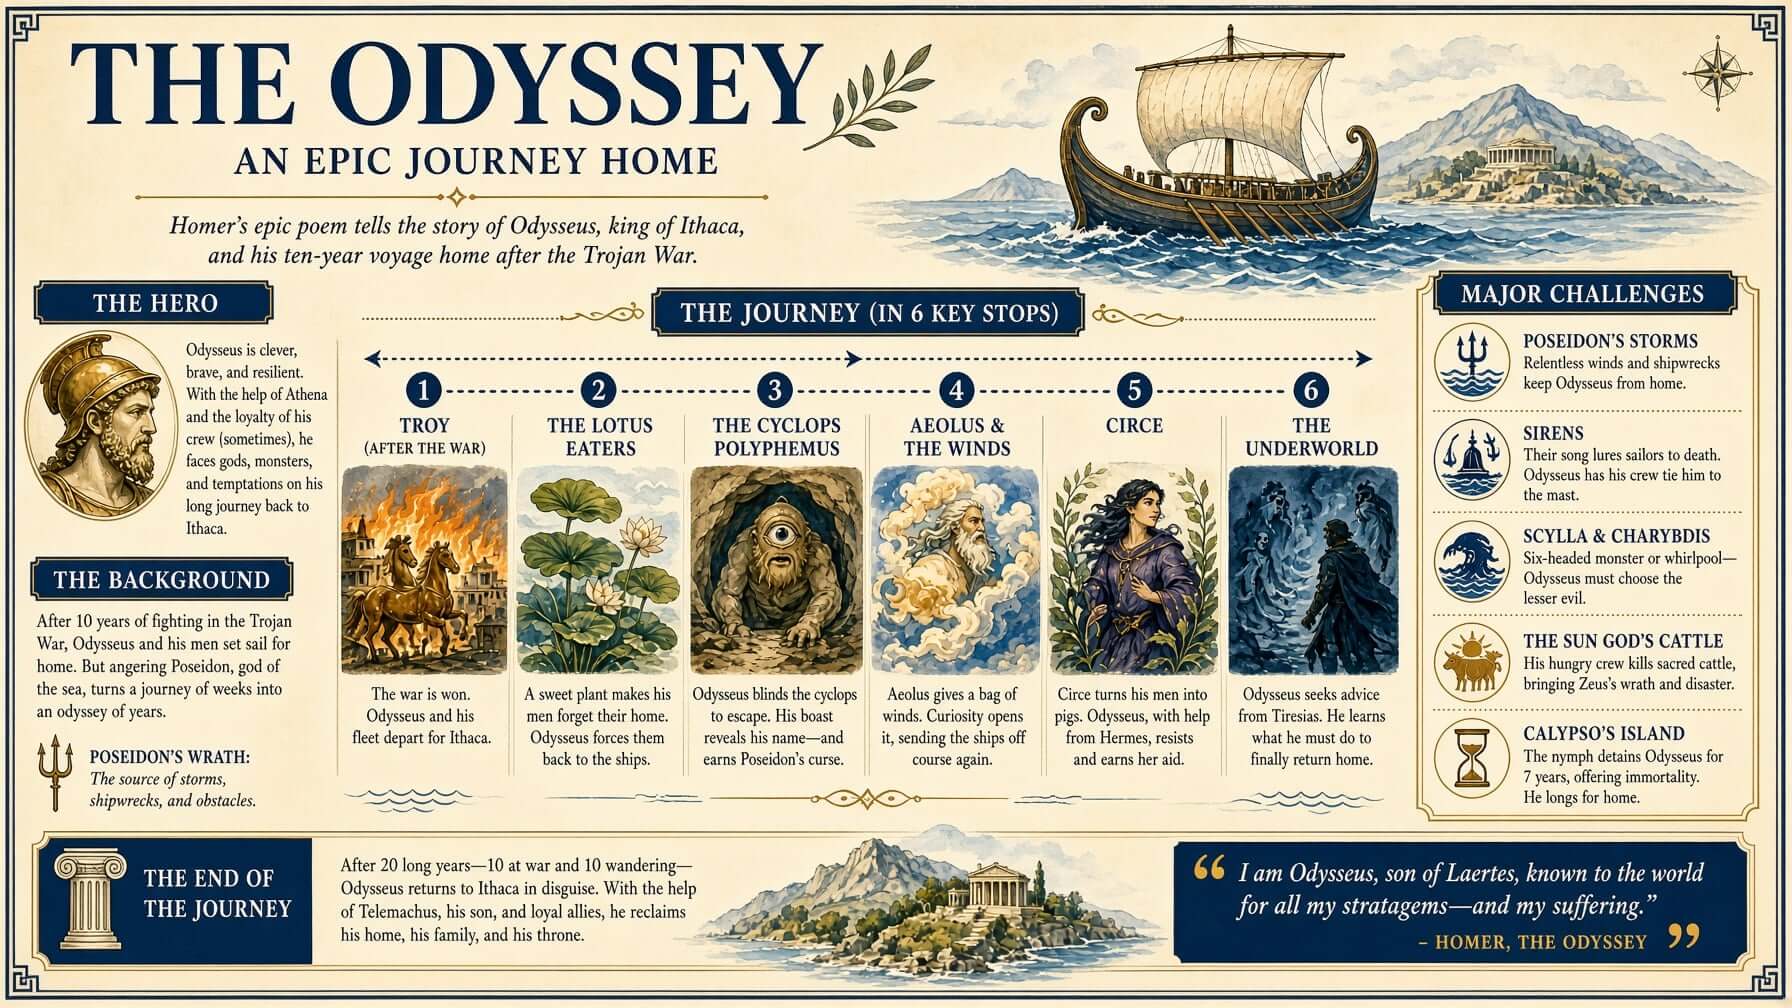
Illustrated Odyssey infographic mapping the voyage of Odysseus
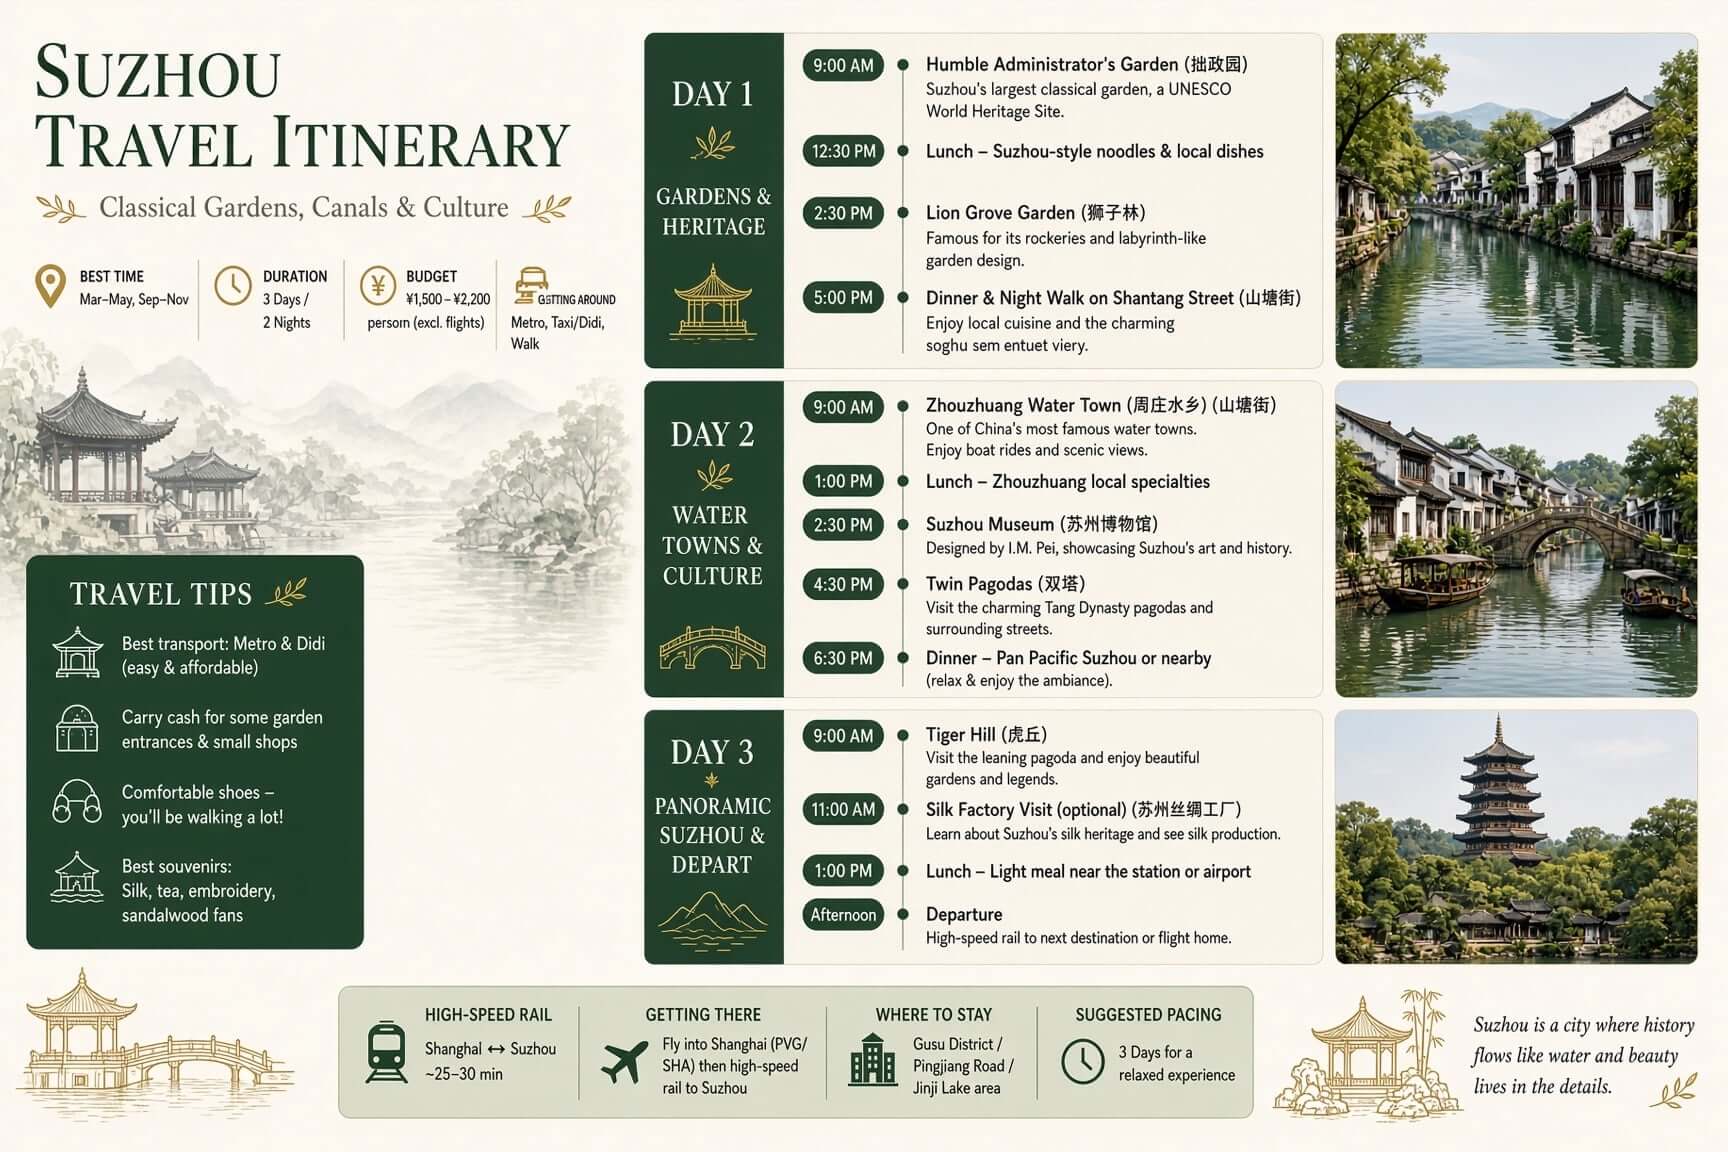
Illustrated Suzhou travel itinerary infographic with a three-day schedule
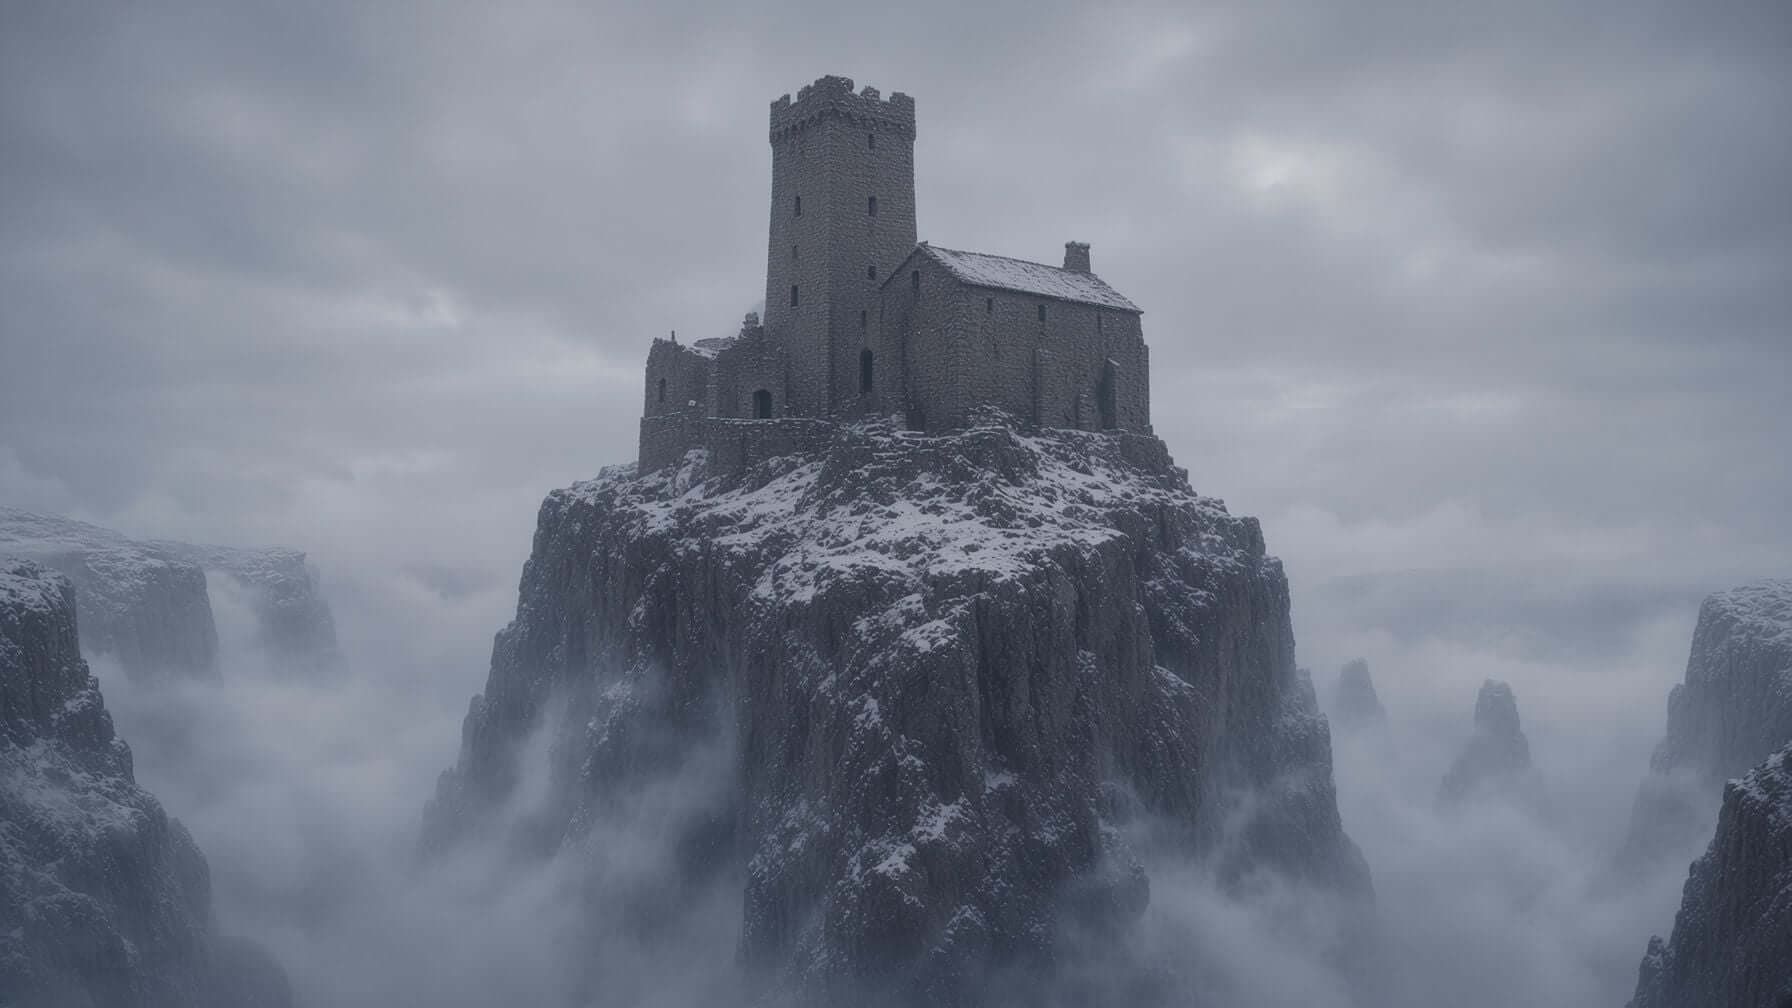
Fog-wrapped stone keep perched on a snowy clifftop spire
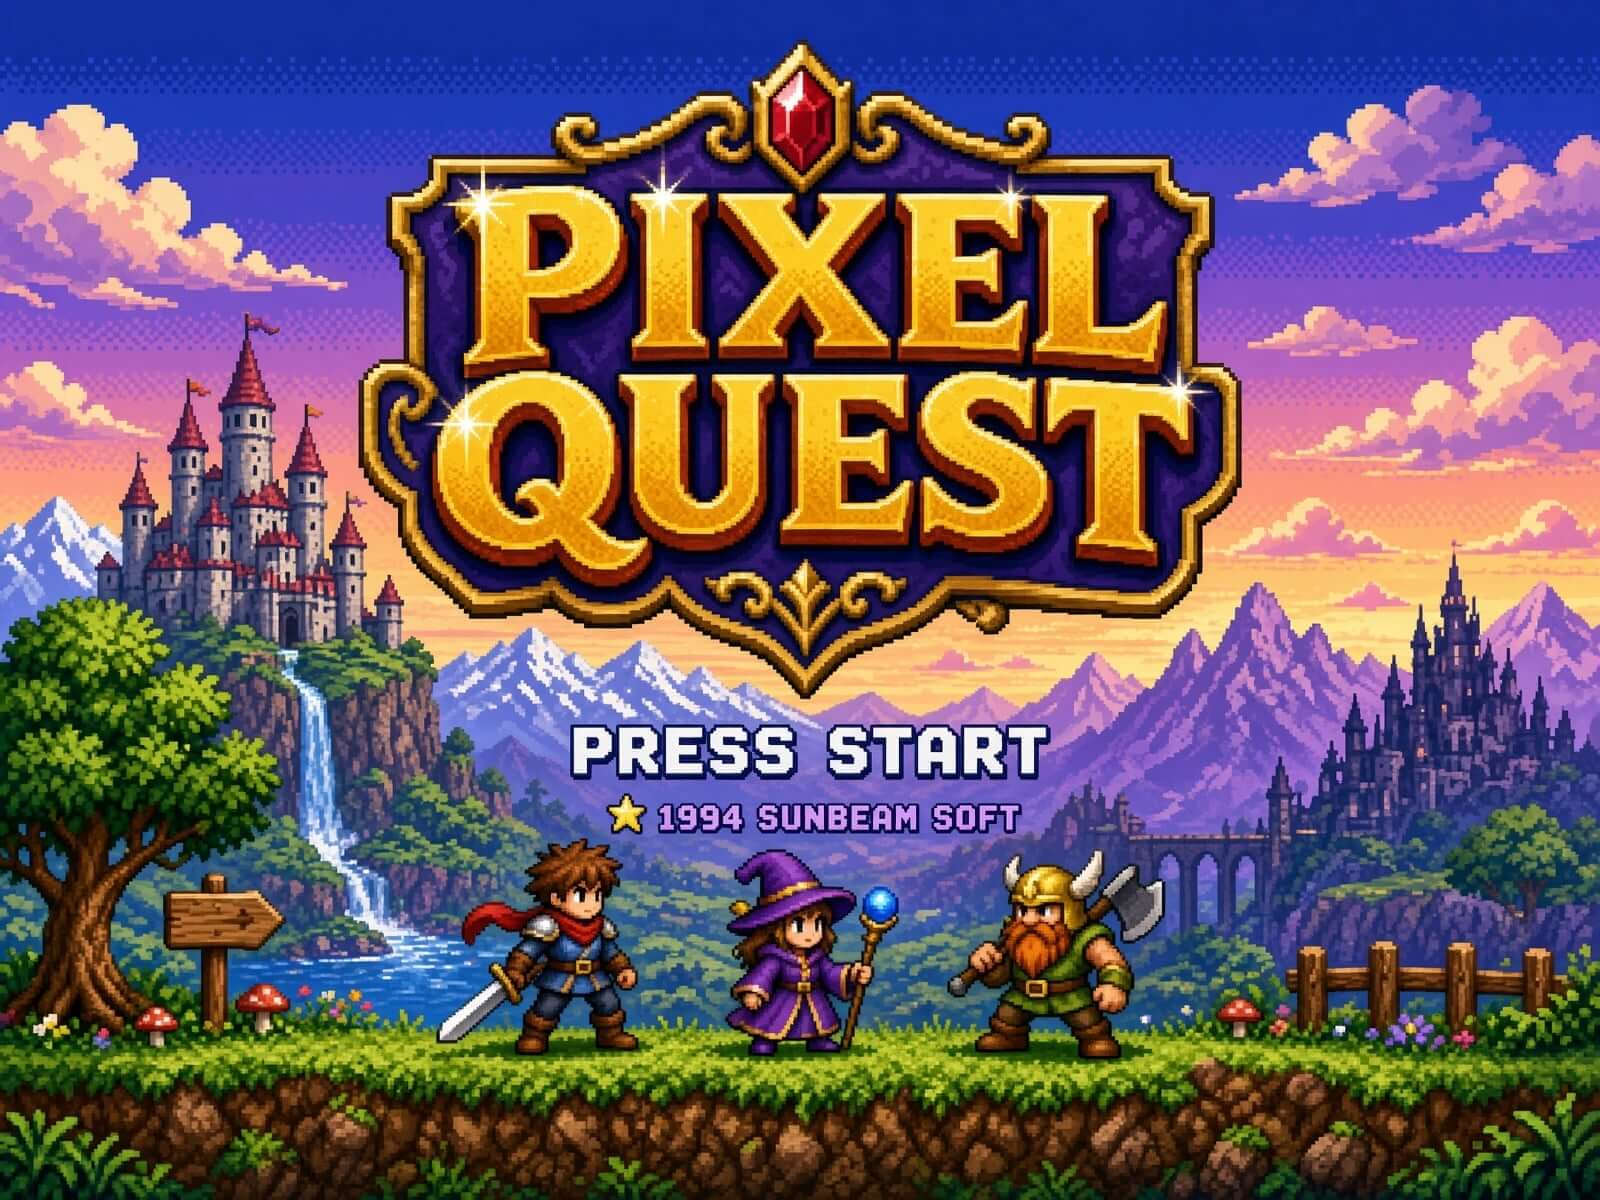
Retro pixel-art RPG title screen with a castle and adventurers
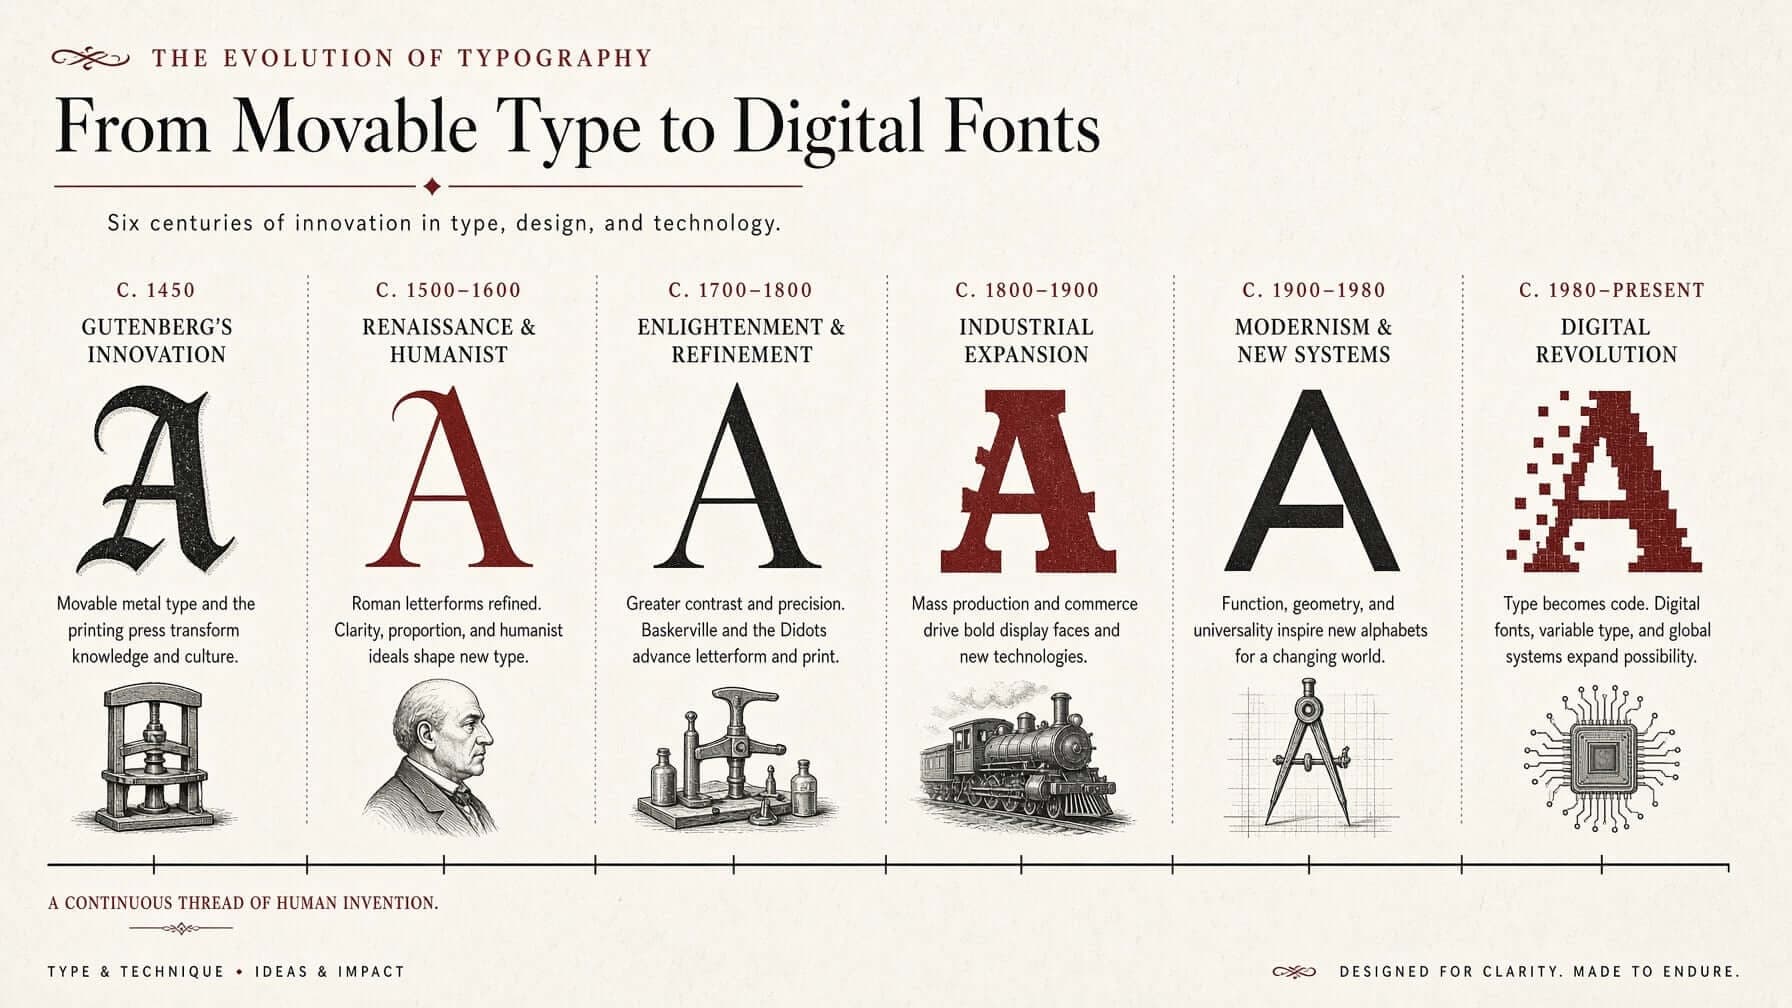
Typography-history infographic tracing letterforms from movable type to digital fonts
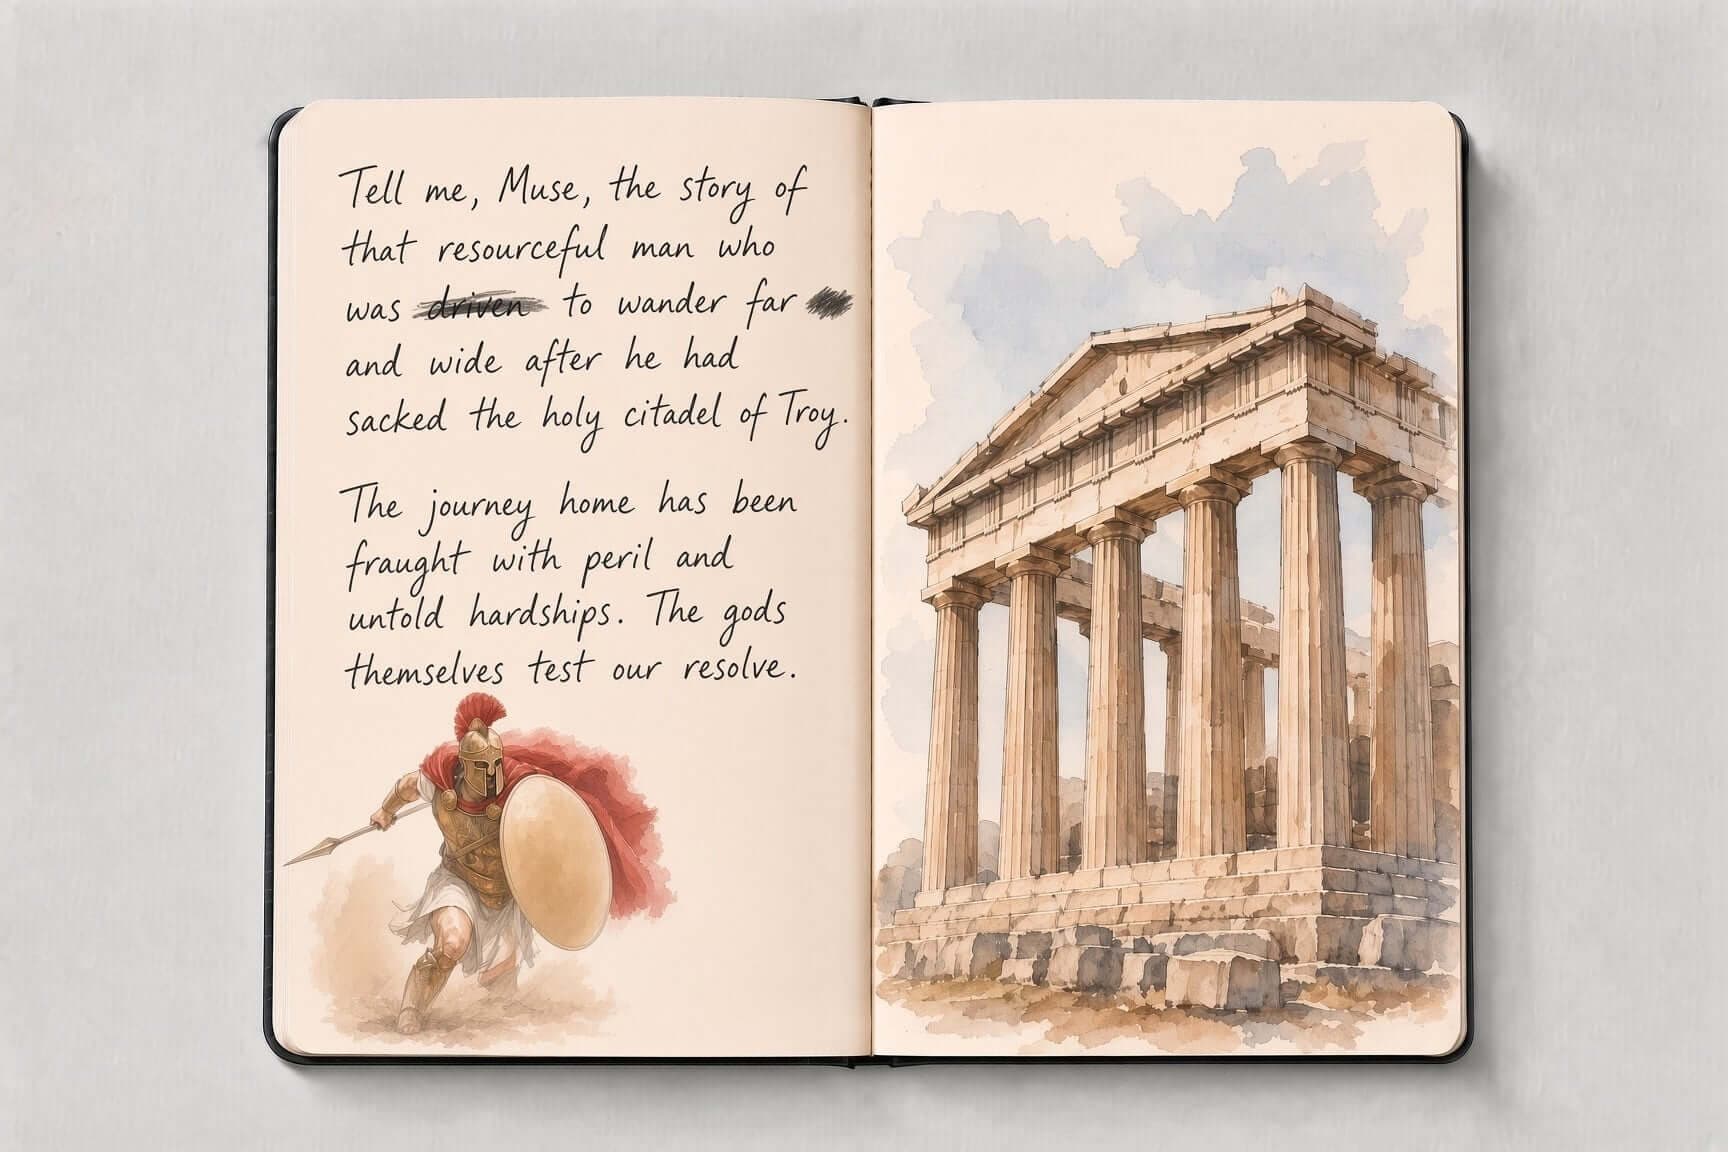
Handwritten Odyssey journal spread with a watercolor hoplite facing a painted Greek temple
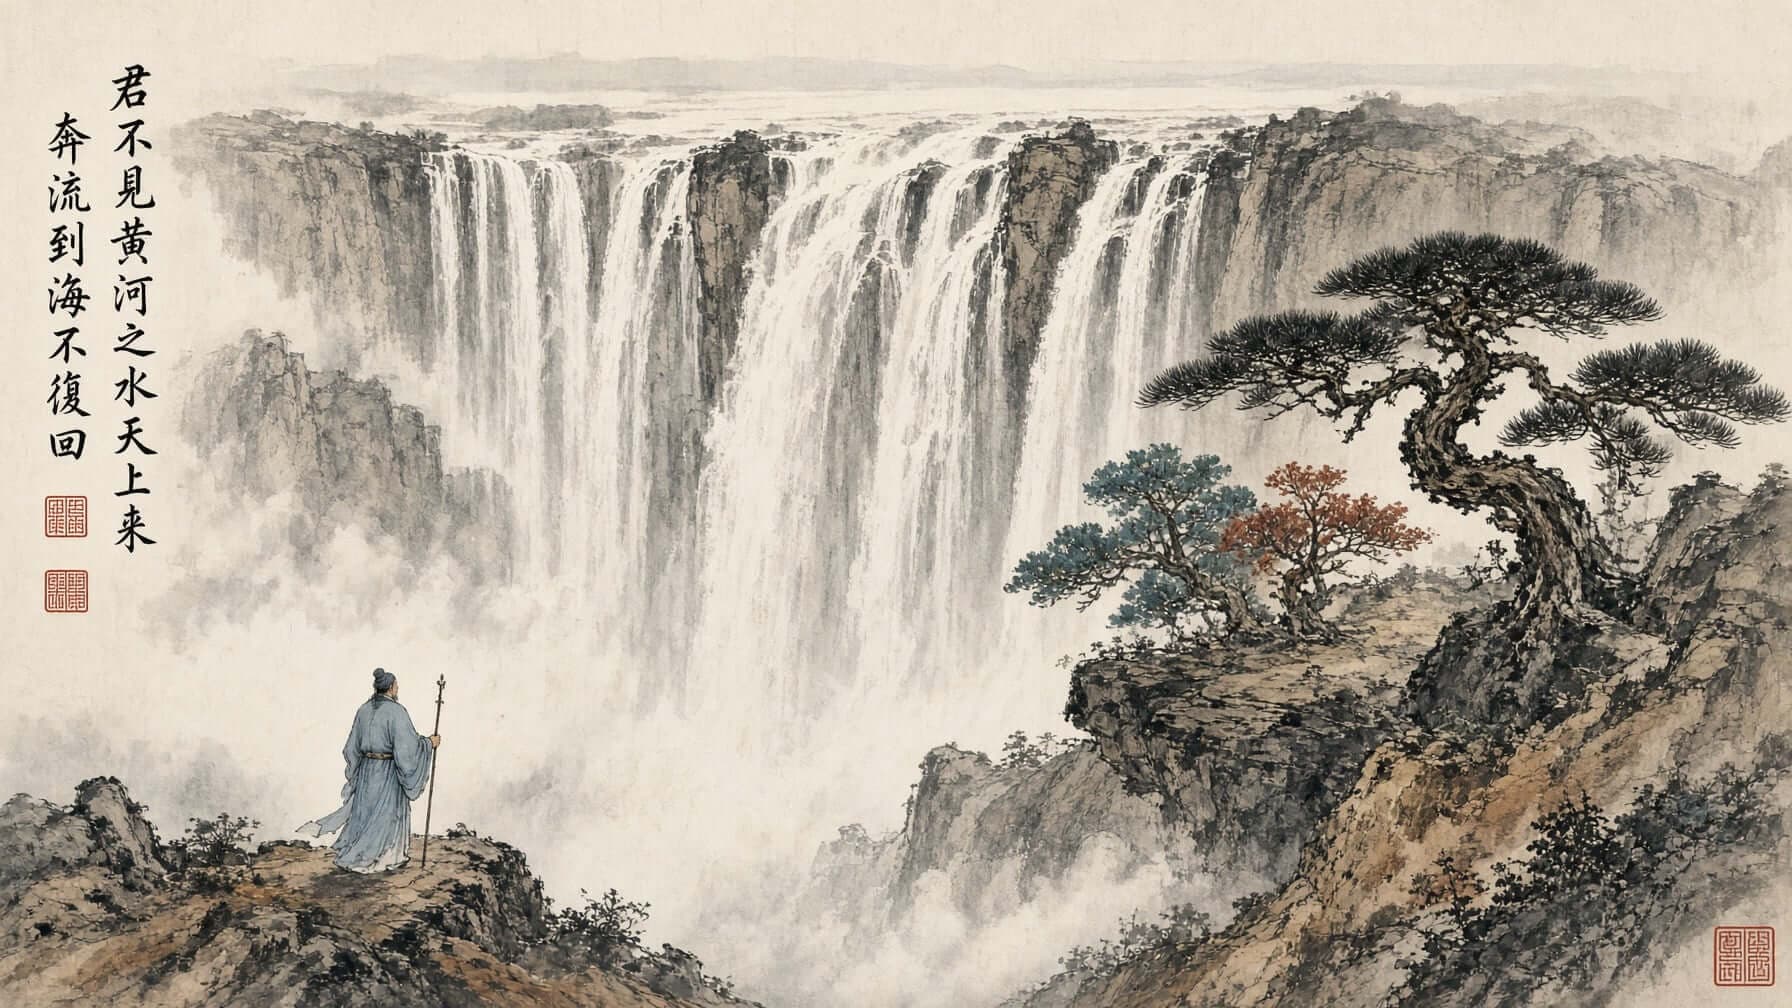
Classical Chinese ink painting of a waterfall with a robed figure
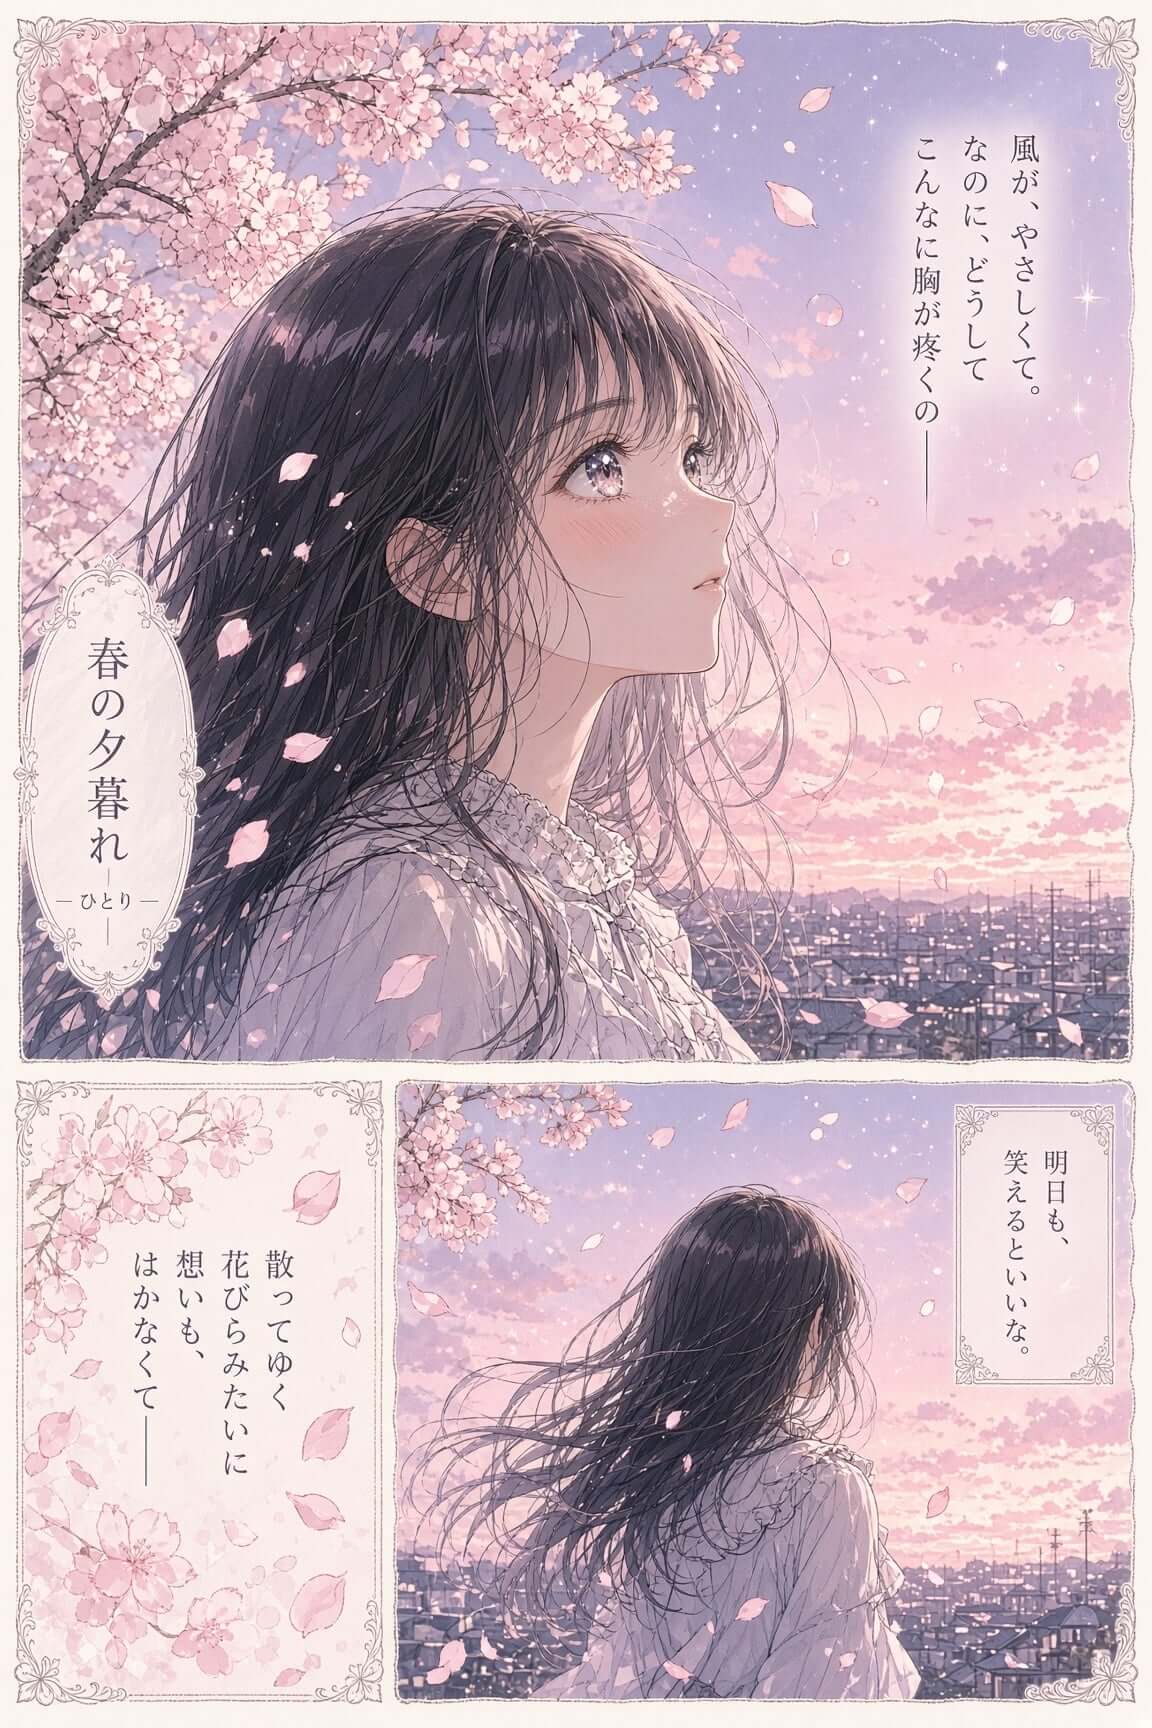
Soft anime manga page of a girl among drifting cherry blossoms at dusk

Overview

What is Grok Imagine Image 2.0?

Grok Imagine Image 2.0 is an AI image-generation model that turns natural-language descriptions into visual concepts you can review, revise, and use across product, marketing, and content projects.

Describe the subject, environment, style, lighting, composition, color palette, and mood. Treat the first result as a starting point, then ask for focused changes until the image fits its final placement.

Creative control

Features built for real creative work

Start with a written direction, then shape the result around the composition, mood, and placement your project actually needs.

Natural-language image generation

Start with the words you already use to explain an idea to a designer. Name the subject, setting, visual style, lighting, camera position, and atmosphere. Clear purpose works better than a stack of decorative adjectives.
Composition and mood control

Place the subject, reserve space for a headline, choose a wide or close crop, and describe the mood. Support the direction with a concrete palette and lighting choice.

Guided image refinement

Keep the strongest parts of a result and change the rest. Adjust colors, camera angle, background details, visual style, and scene elements with focused instructions.

Variations for comparison

Generate alternative angles or treatments before choosing a final direction. Reuse the same brief so every option answers the same creative question.

Visual references

Use a reference image when words alone do not fully explain the subject or direction. Your prompt can state what should change and what should remain recognizable.

Multiple placements

Plan social graphics, product-page visuals, banners, and article headers around their final destinations. State the placement early so the composition leaves the right amount of room.

Examples

One model, different visual jobs

Photo Edit template cover
Product Color Change template cover
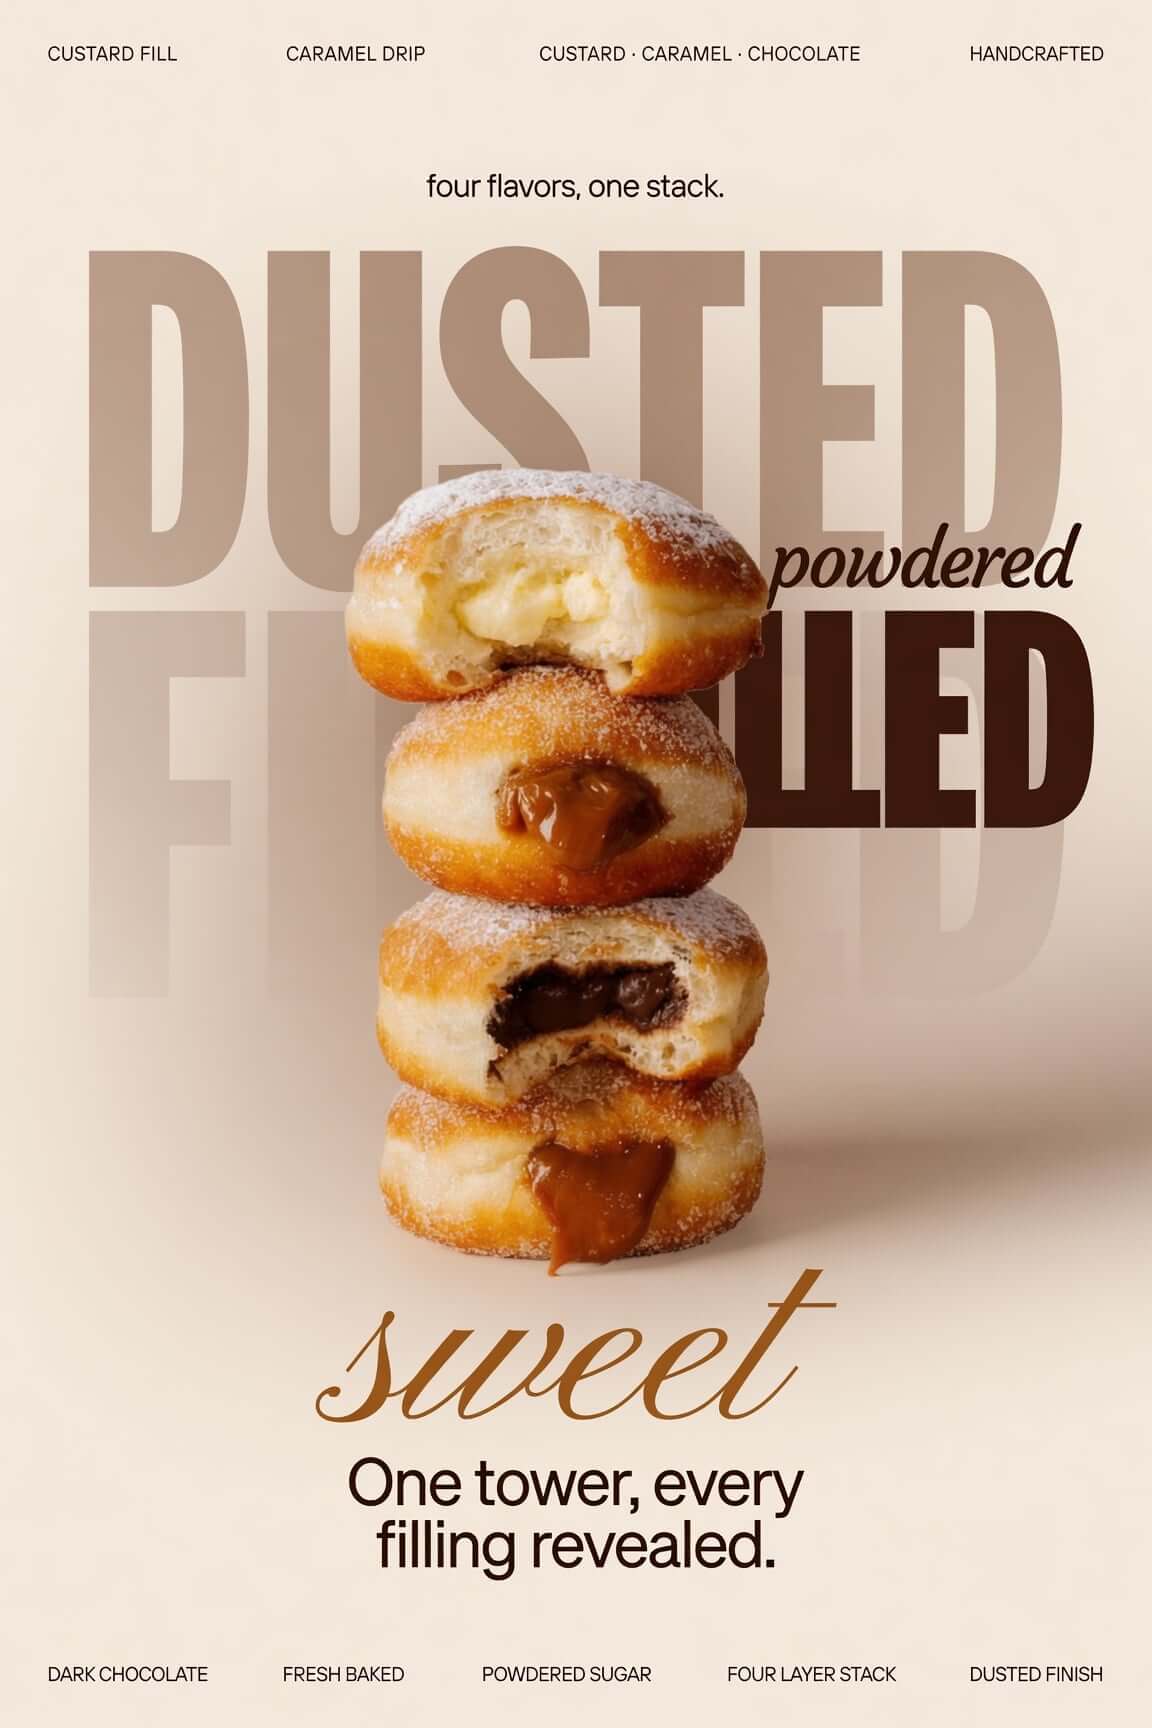
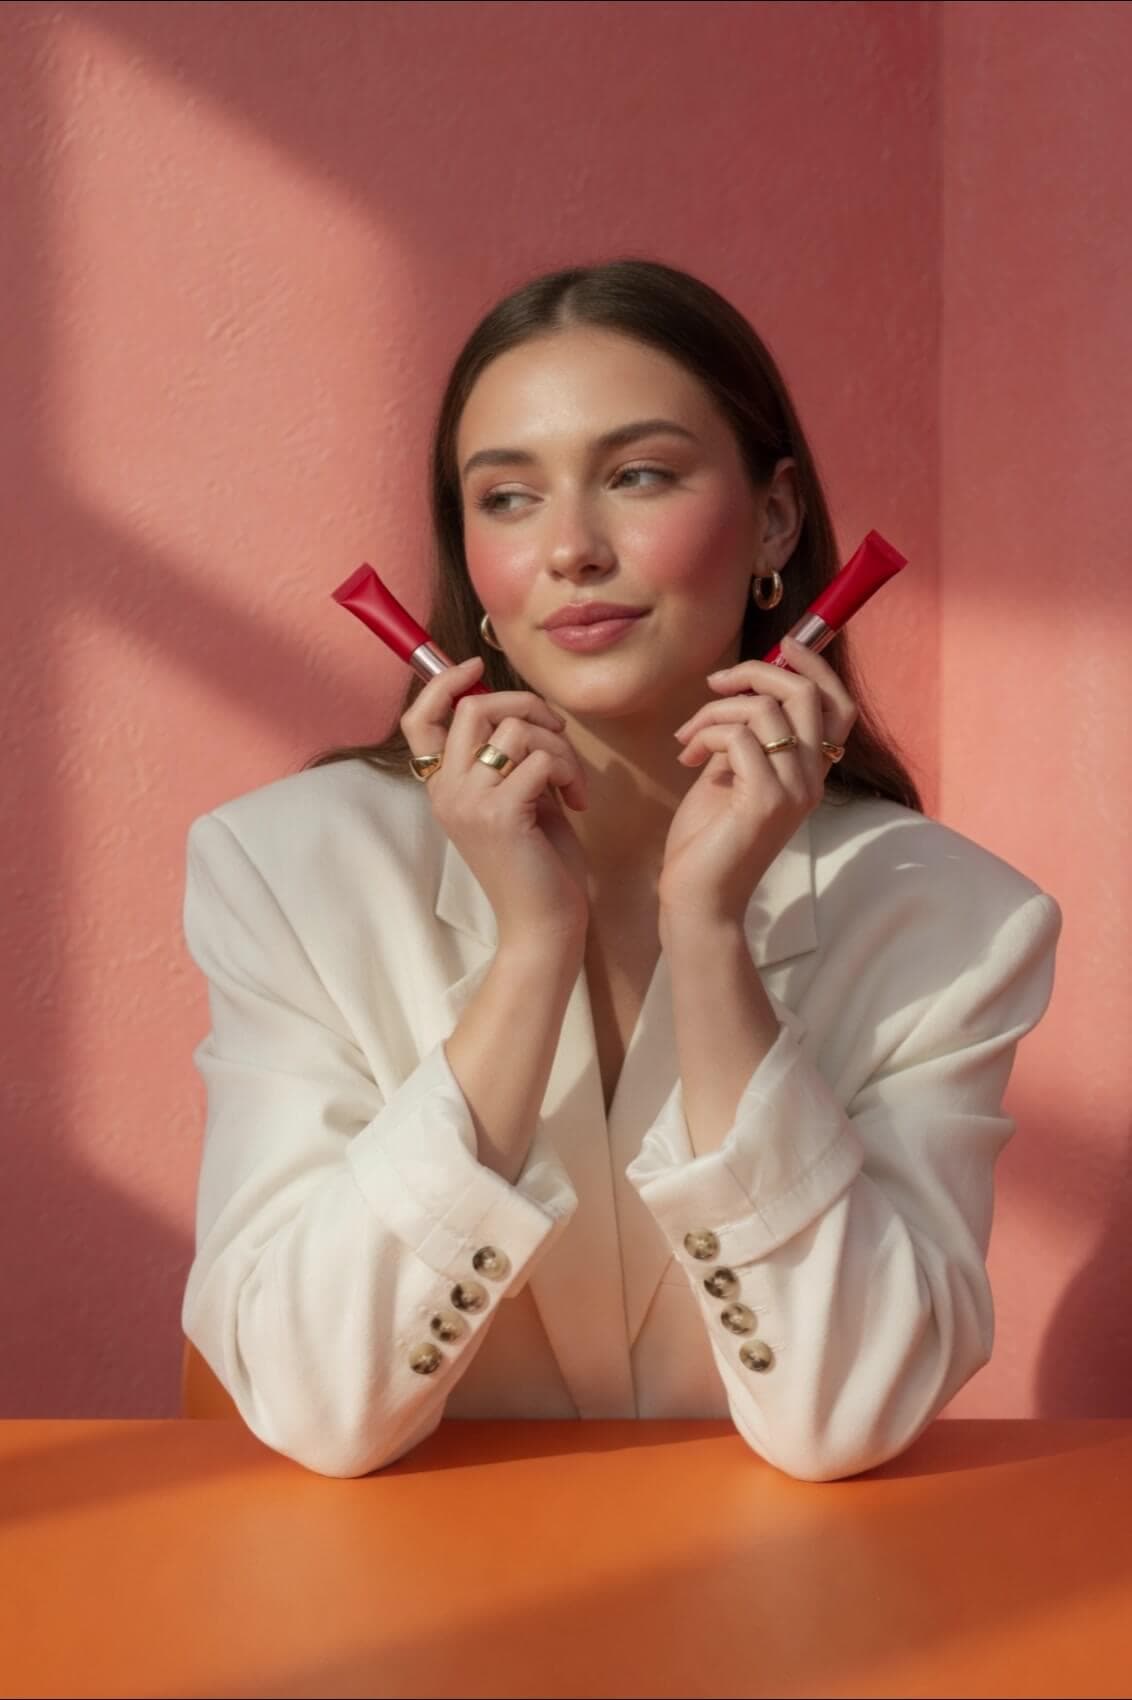
Editorial Product Poster template cover
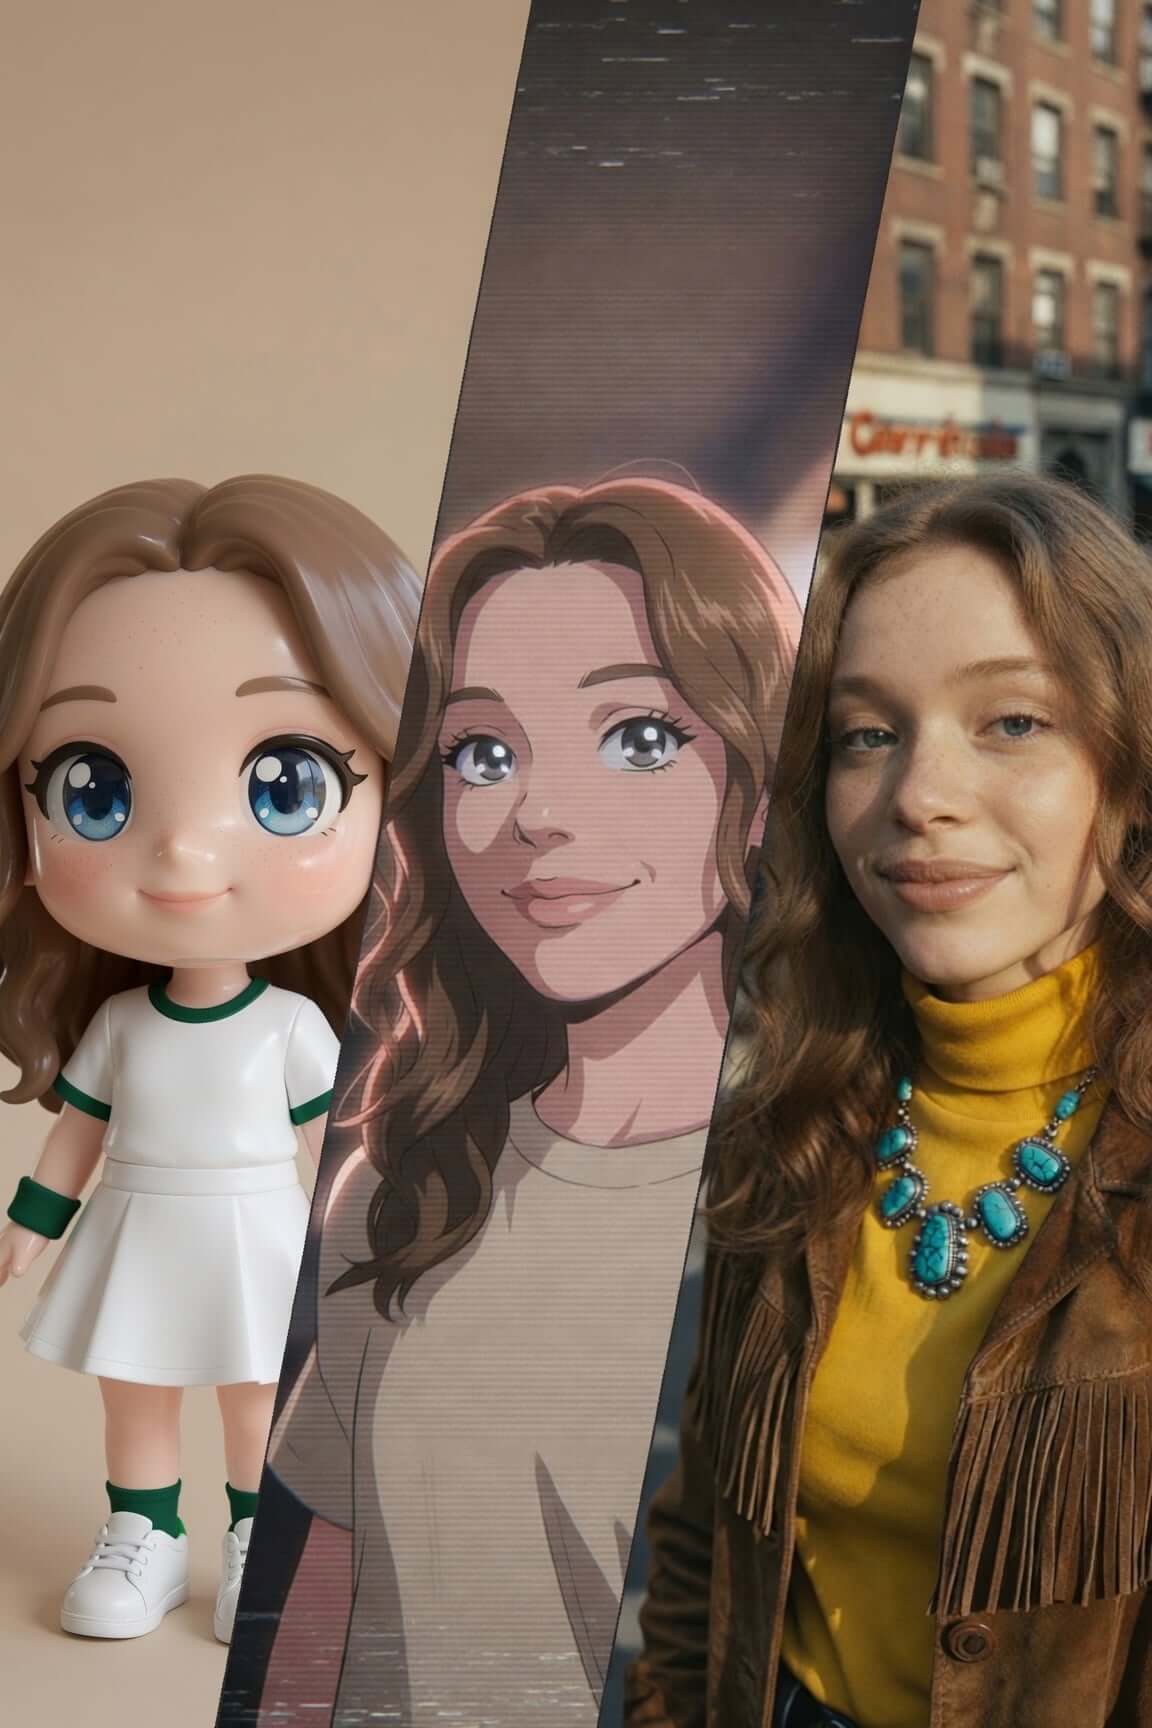
Reimagine template cover
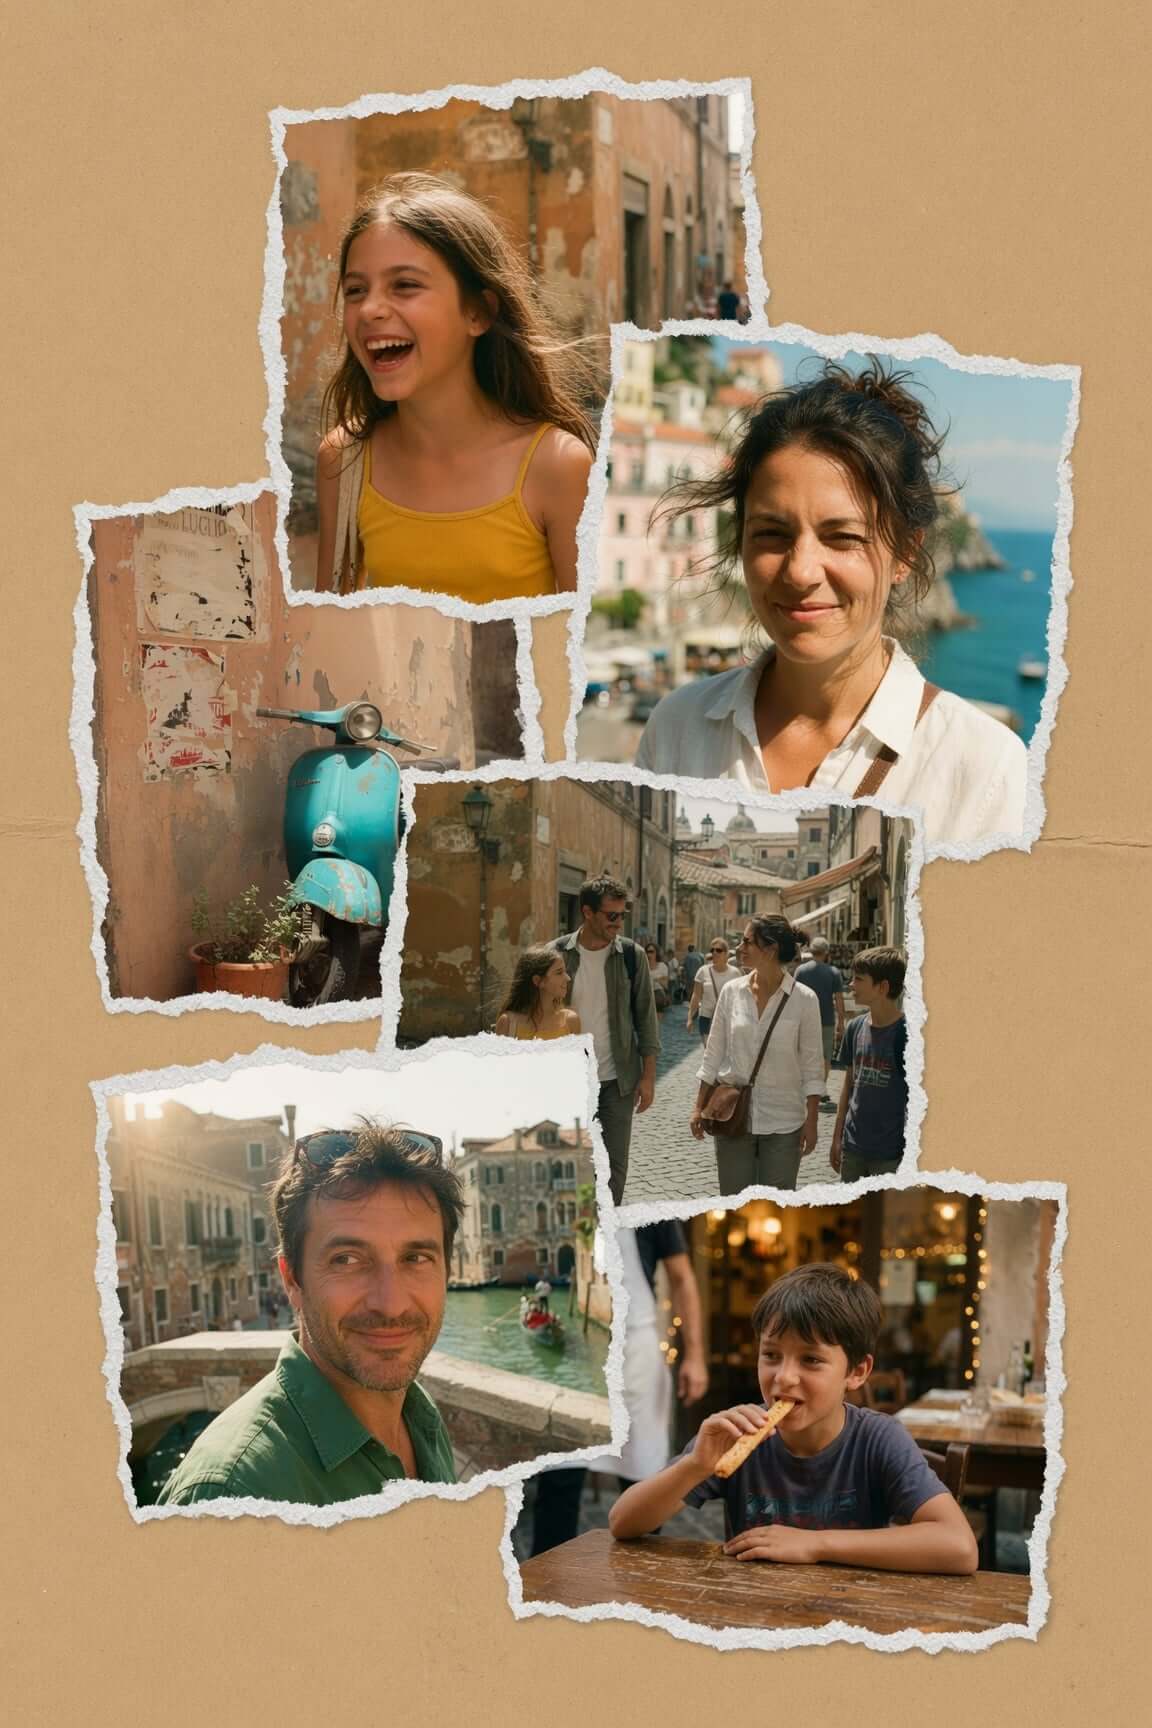
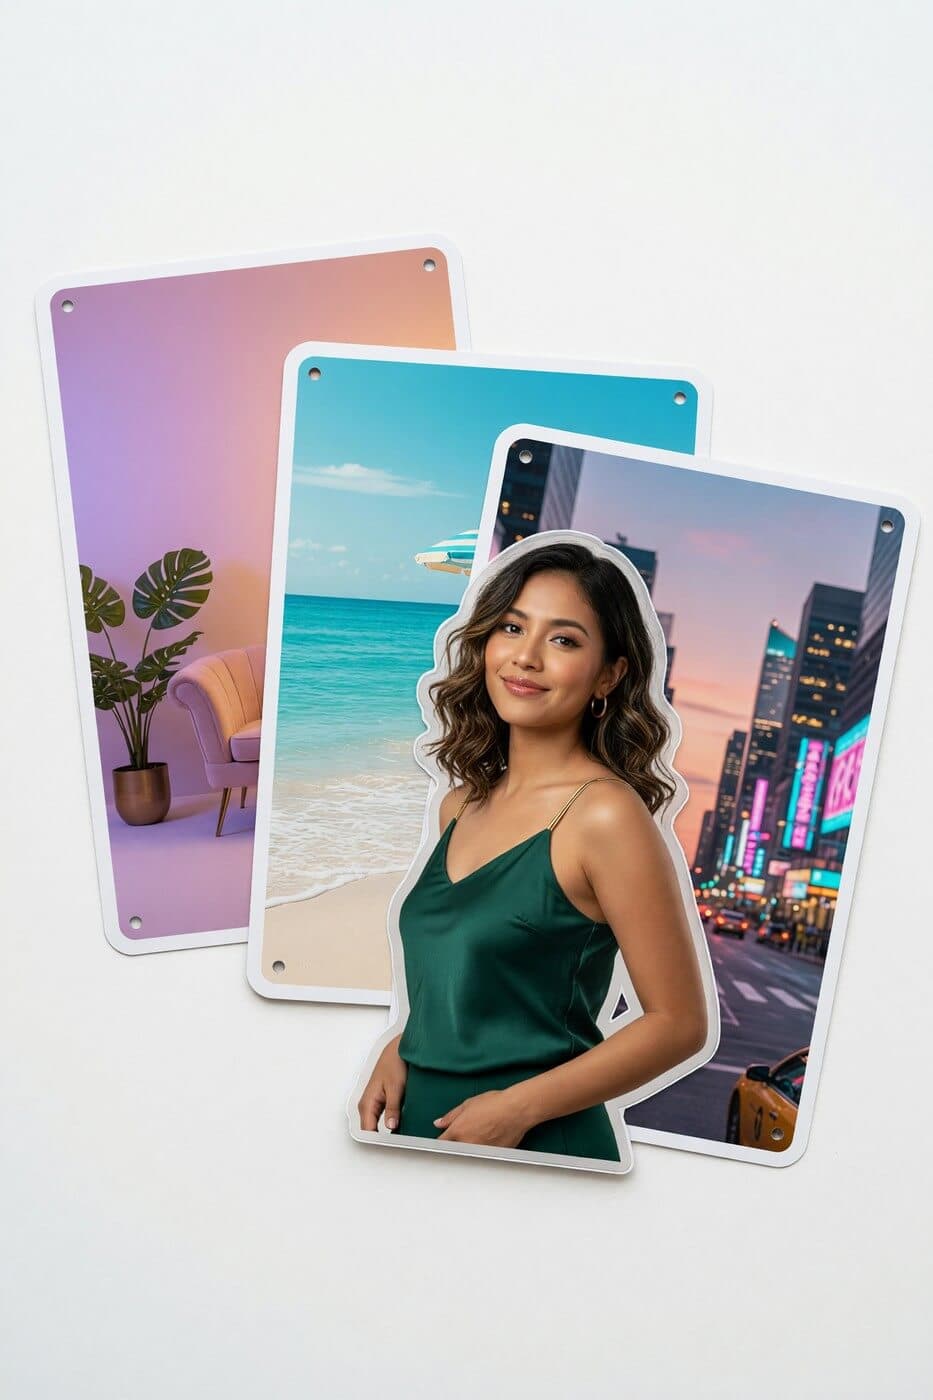
Photo Collage template cover
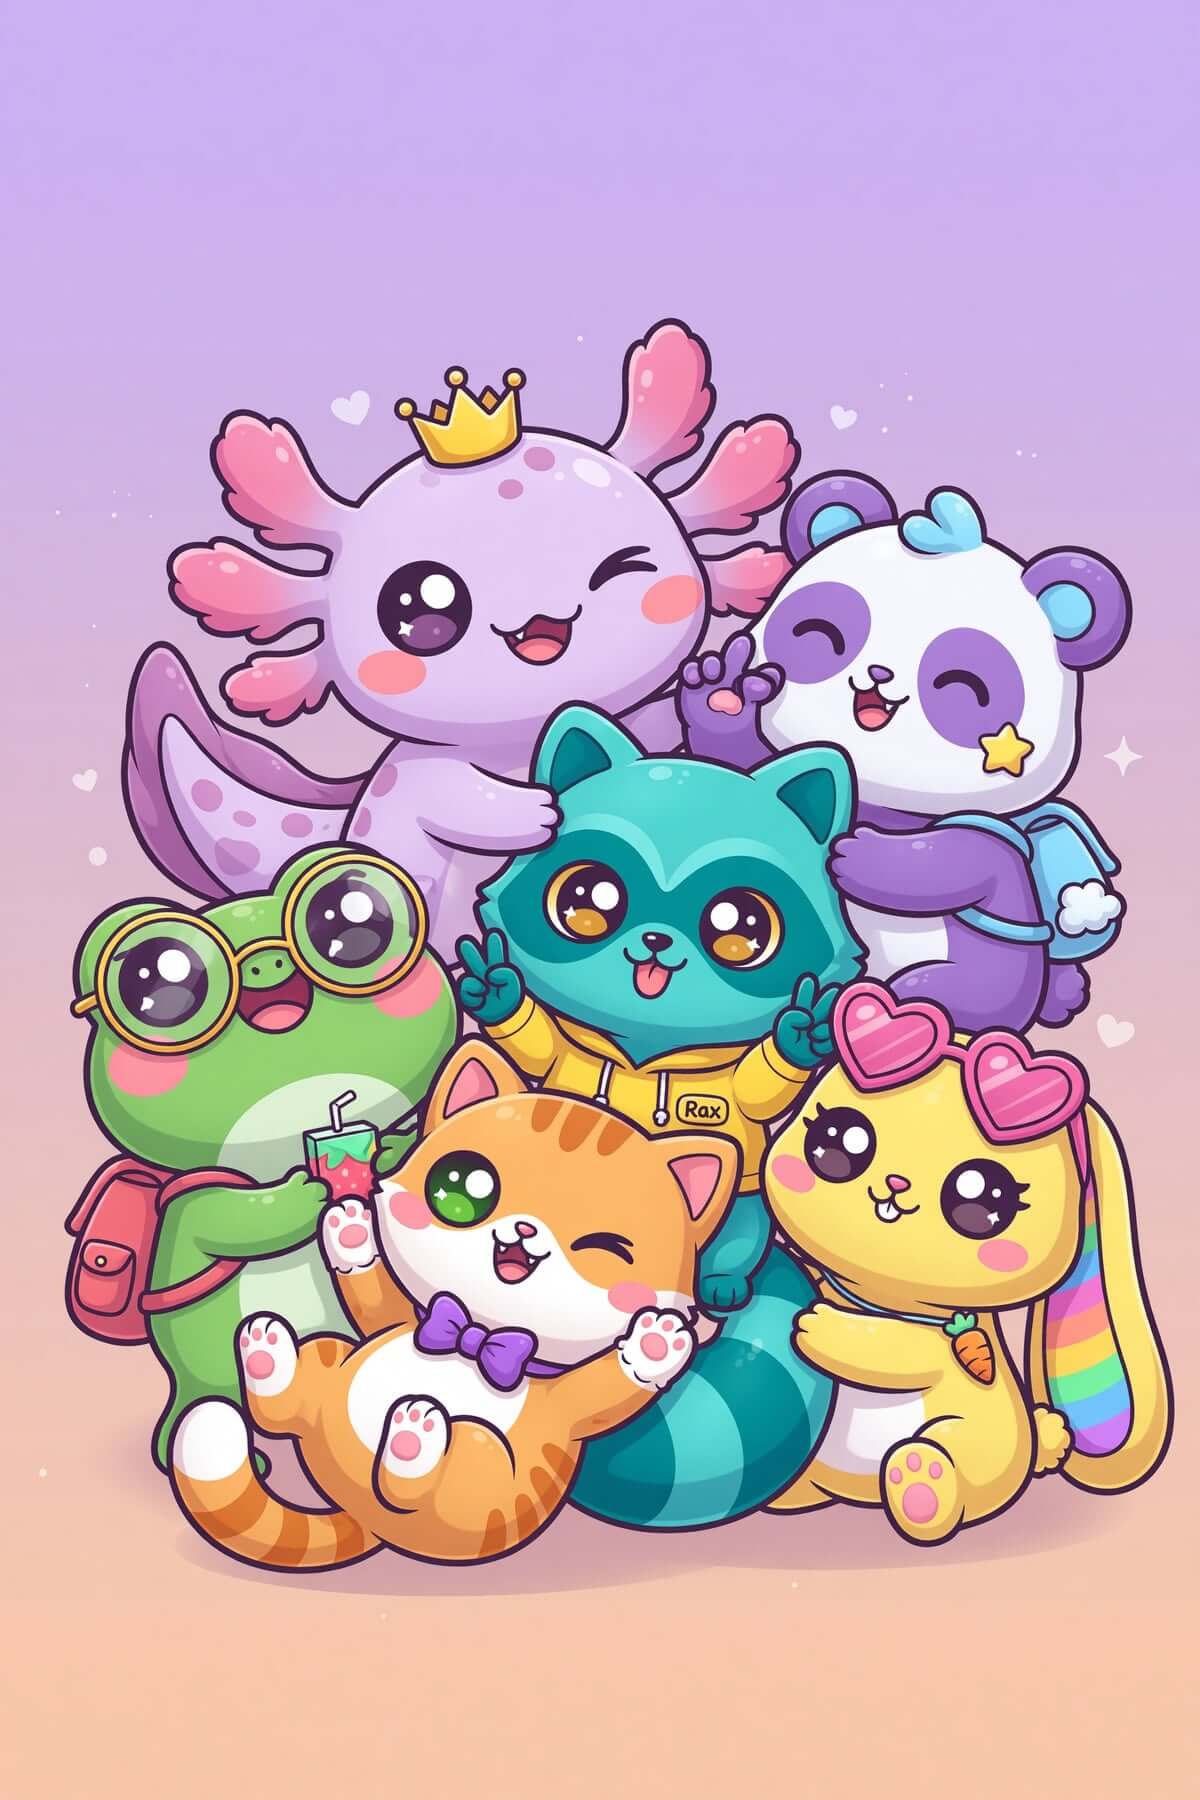
Mascot Maker template cover
BG Removal & Change template cover
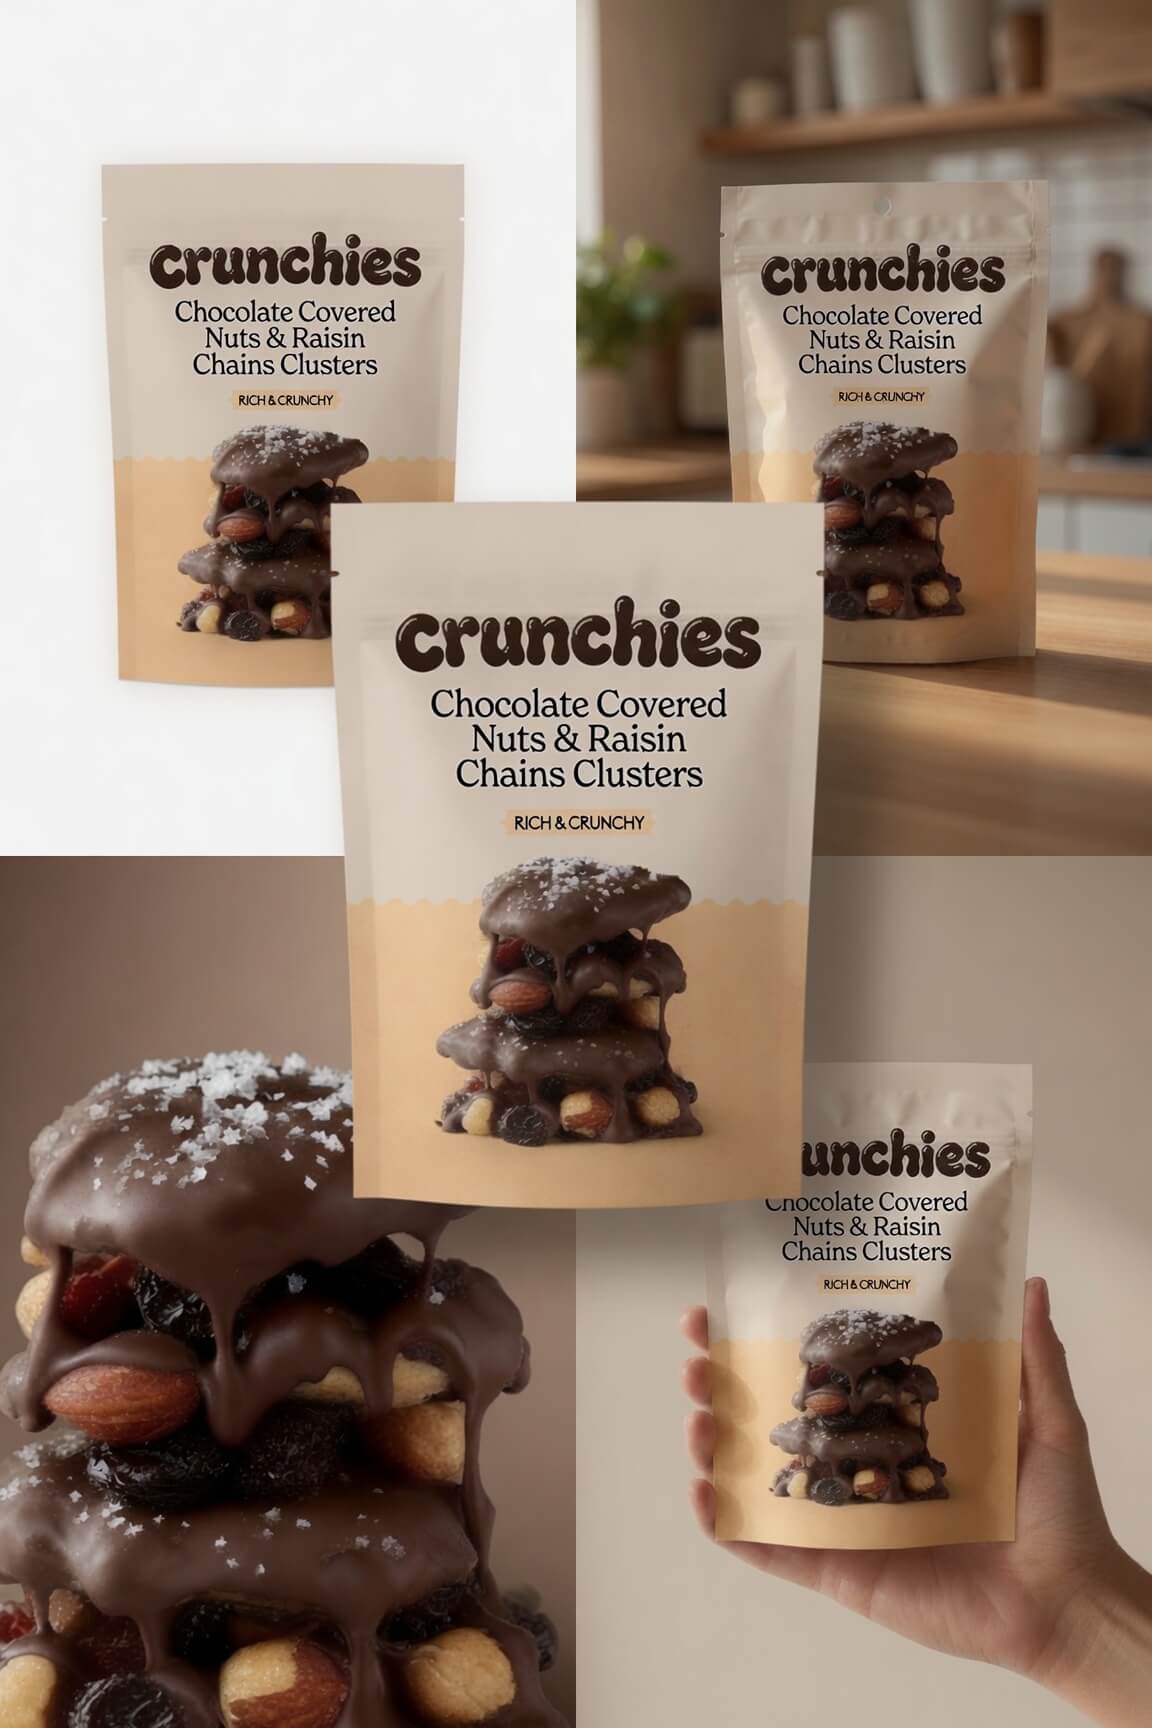
E-Commerce Photos template cover
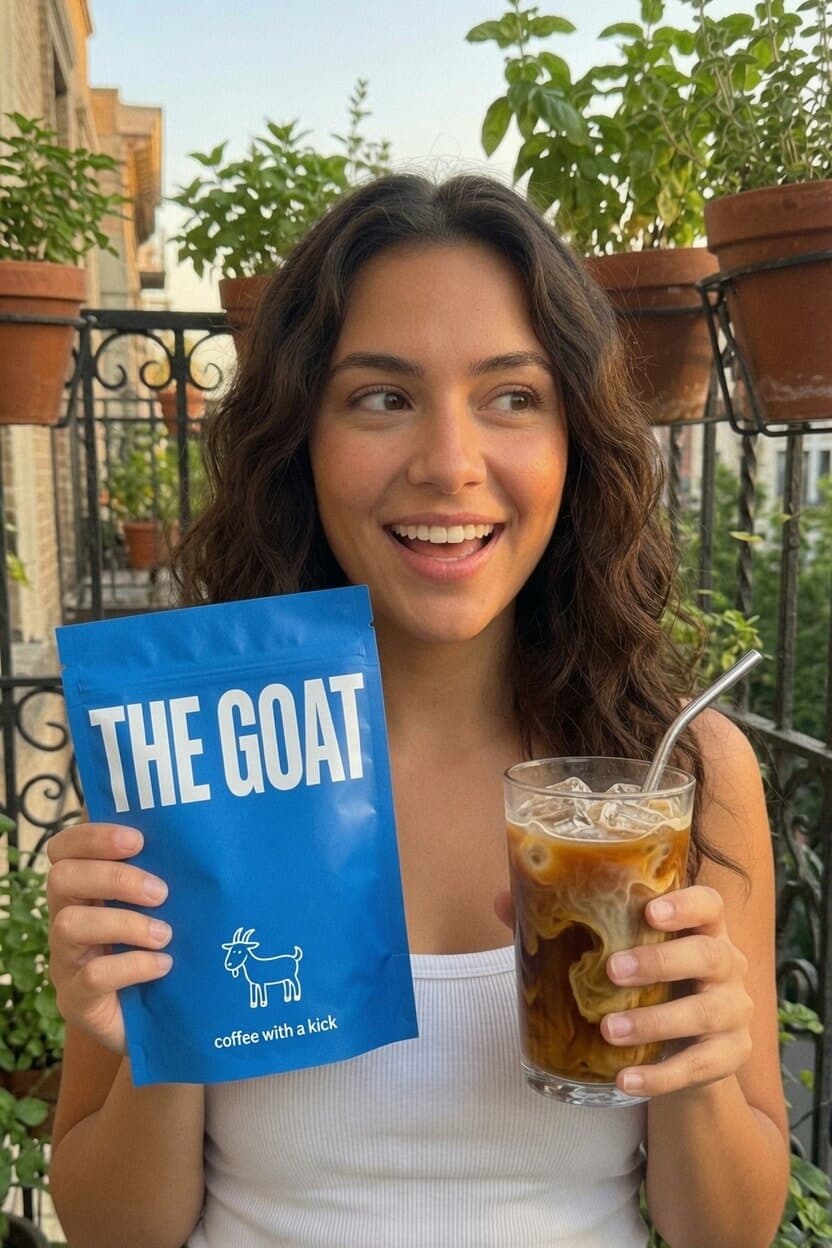
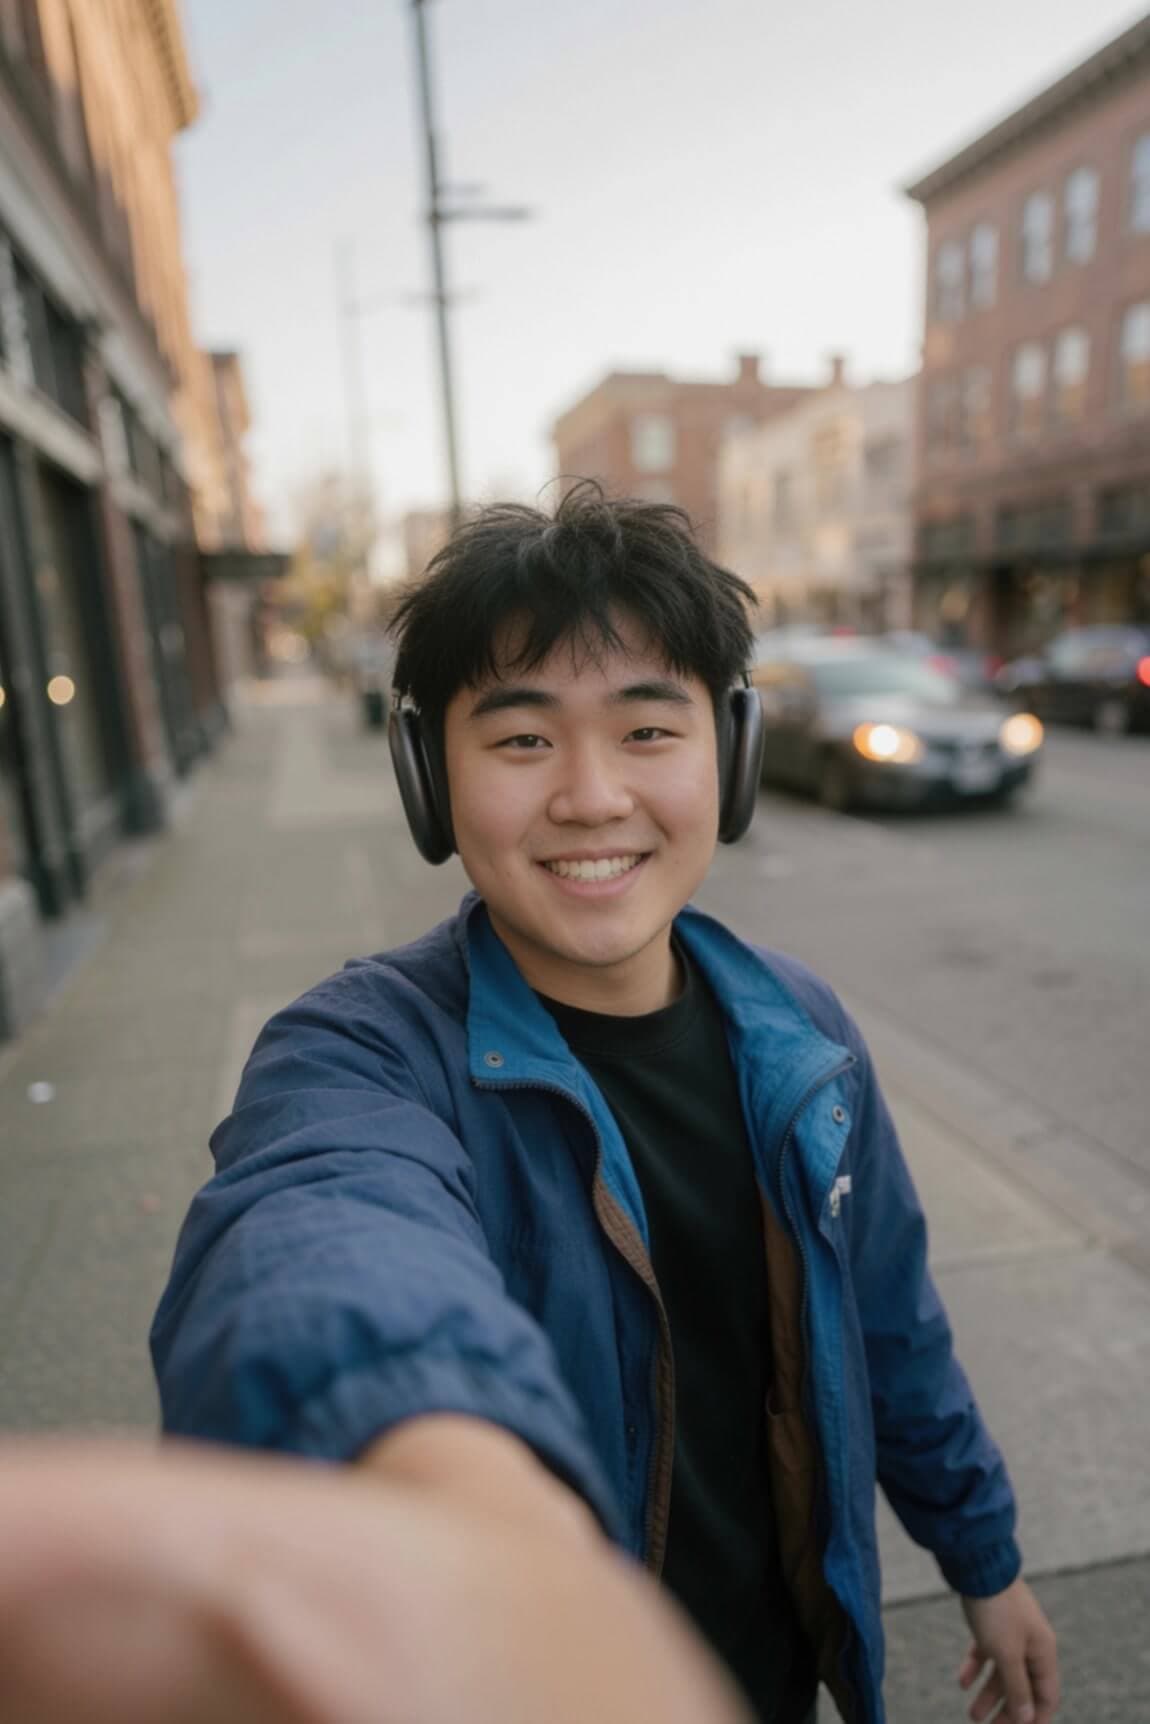
UGC Photos template cover
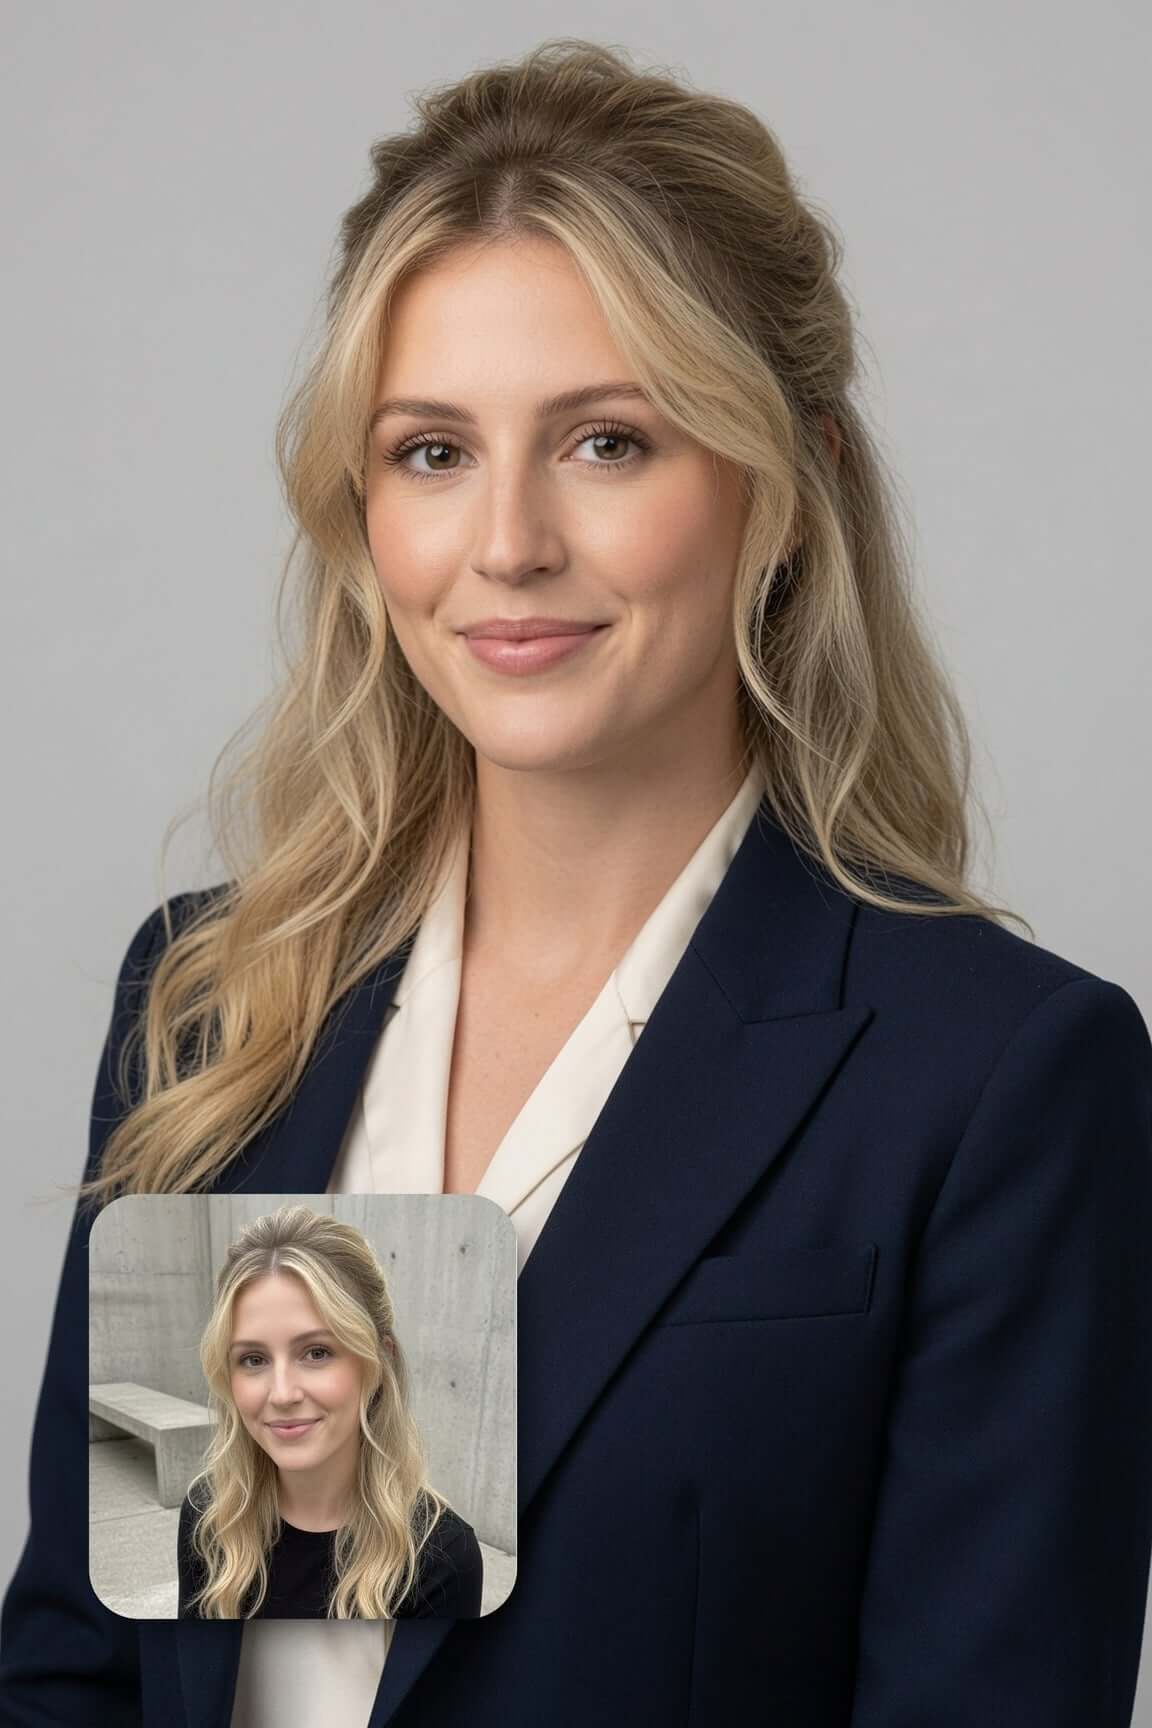
Professional Headshot template cover
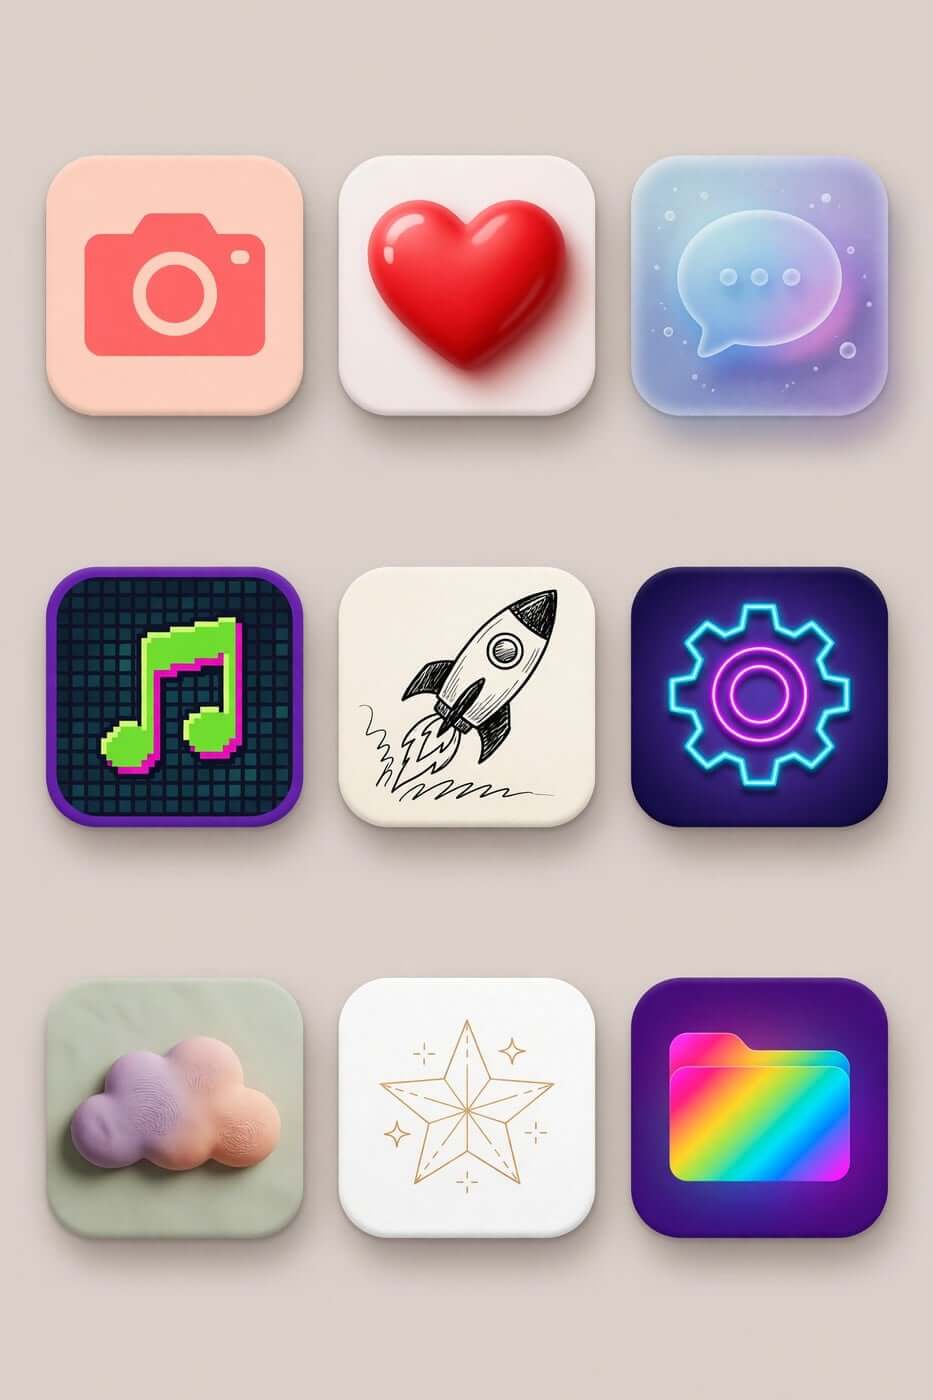
Icon Maker template cover
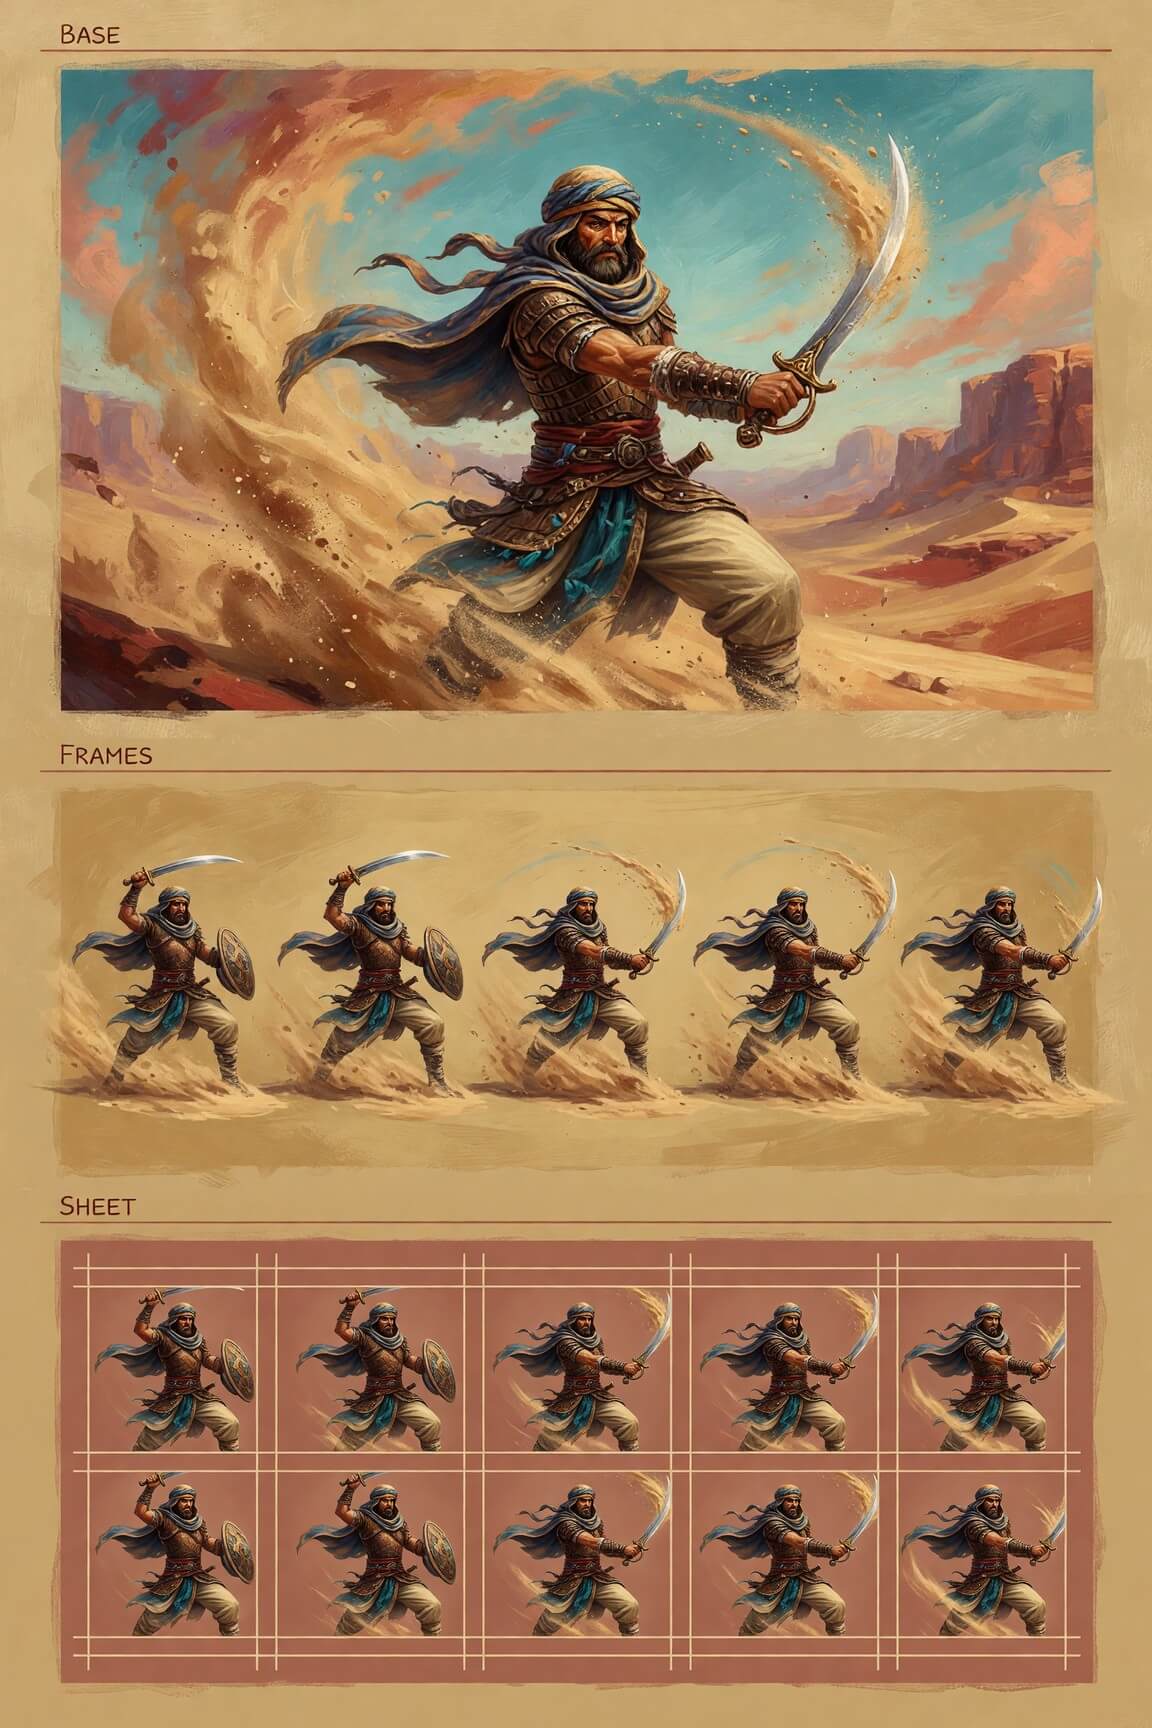
Character Sprite template cover
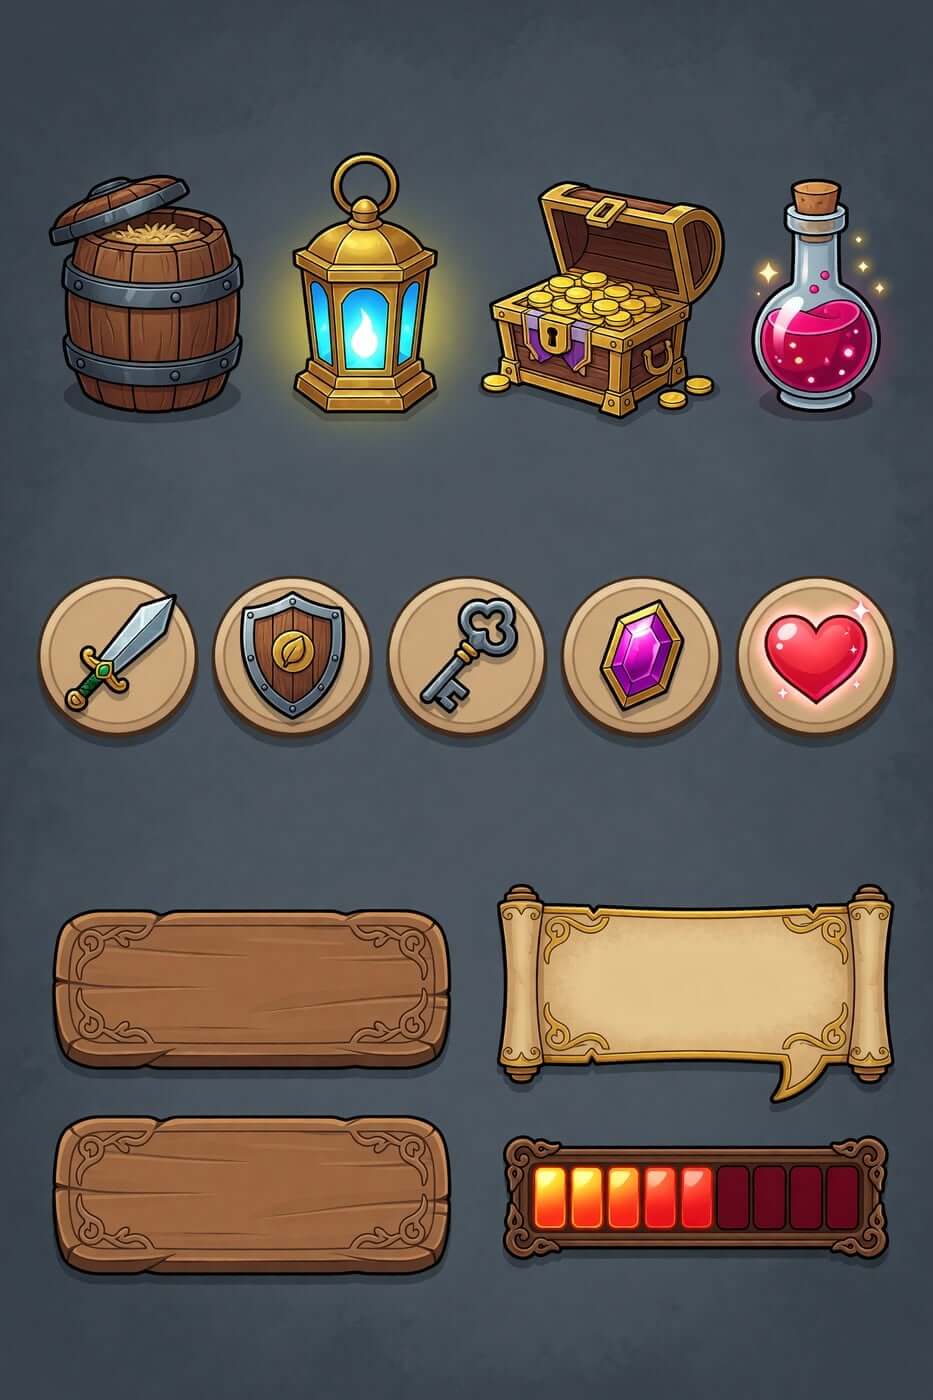
Props & UI Kit template cover
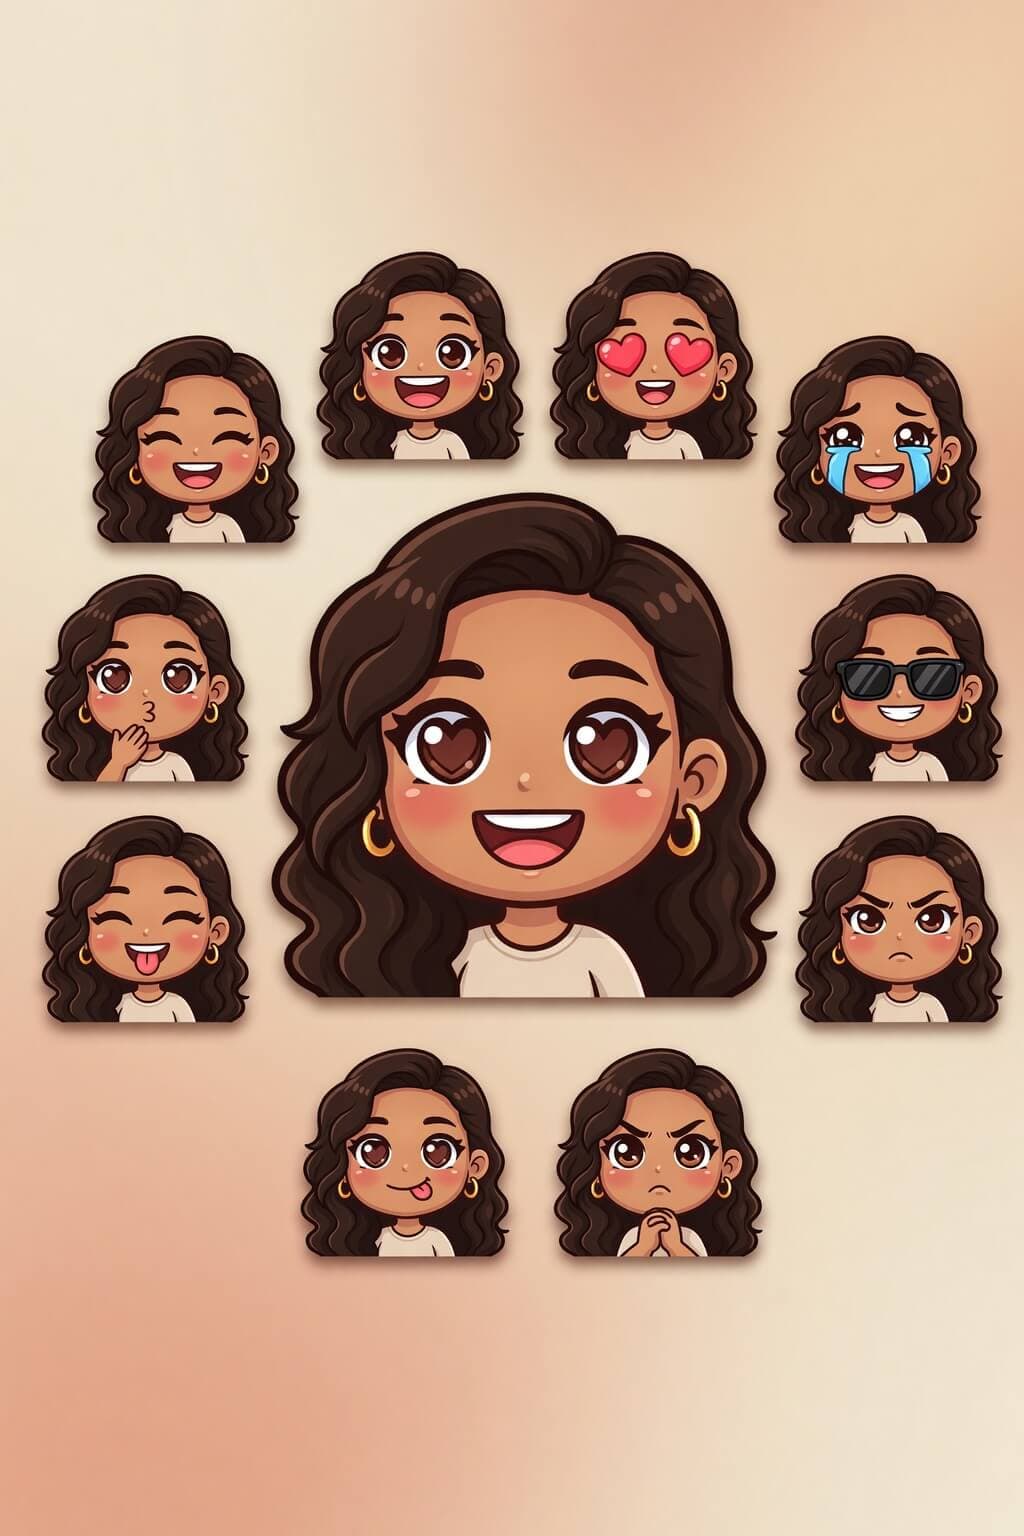
Emoji Creator template cover
Merch Maker template cover

Workflow

How to Use Grok Imagine Image 2.0

Go from idea to a usable visual direction in four clear steps. Start with one sentence, then add detail and revise as the image takes shape.

01

Describe the outcome

Begin with the image’s job. State the main subject, whether it is a landing-page hero, product mockup, campaign post, editorial illustration, or early concept, and where it will appear.

02

Add visual direction

Describe the environment, style, lighting, color palette, camera angle, and mood. Put the most important information first so the composition has a clear purpose.

03

Generate and review

Treat the first image as a draft. Check the subject, proportions, layout, lighting, unwanted details, and whether the result fits its intended placement.

04

Refine the strongest direction

Keep what works and name the next change. Make one or two meaningful adjustments per revision so you can see what improved the result.

Ready to create

Start with one idea and one intended placement, then refine until the image fits the job.

Start with Grok Imagine Image 2.0

Use cases

Built around the work already on your list

Product marketers building launch pages

Explore how a product should appear in the hero section. Specify materials, background, lighting, and available space for copy, then refine the direction that best supports the message.

Social teams planning a campaign

Create one core visual concept and adapt it for square, portrait, and wide placements while keeping the subject and palette recognizable.

Content teams illustrating a topic

Turn a technical or abstract idea into a clear editorial image with a visual metaphor, style, and color system that support the article.

Designers exploring early directions

Compare photographic, graphic, and minimal product approaches against the same brief before committing to a final visual route.

A better revision loop

Grok Imagine Image 2.0 vs. a one-shot workflow

DecisionOne-shot workflowGrok Imagine Image 2.0
Starting pointA prompt with little project contextA prompt built around subject, placement, style, lighting, and mood
First resultTreated as the final answerTreated as a direction to evaluate
FeedbackRewrite the request and hope the right details remainKeep useful details and ask for focused changes
VariationsDifferent prompts may drift away from the briefVariations can follow the same approved direction
Campaign useEach image is planned separatelyReused style guidance helps related assets belong together

FAQ

Grok Imagine Image 2.0 questions, answered

Is Grok Imagine Image 2.0 available on this platform?

Yes. Grok Imagine Image 2.0 is available on our platform. Choose the model, enter an image prompt, and generate your first visual direction.

What can I create with Grok Imagine Image 2.0?

You can create product mockups, illustrations, social media graphics, concept art, and marketing visuals. Start with the final placement in mind so the image has the right shape, spacing, and level of detail.

How should I write Grok Imagine Image 2.0 prompts?

Write the subject first, then add the setting, style, lighting, composition, palette, and mood. Include the intended placement when composition matters.

Can I refine an image after it is generated?

Yes. Ask for focused changes such as a different color, camera angle, background, object, or visual style. Keep the parts that work and describe only what should change.

Can I use an image as a creative reference?

Yes. A visual reference can establish the subject or direction when words are not enough. Add a written instruction explaining which details should remain and which should change.

How do I create consistent campaign images?

Reuse the same palette, lighting, composition rules, and descriptive language across related prompts. Change the format or scene while preserving the approved visual direction.

Is Grok Imagine Image 2.0 only for designers?

No. The workflow begins with natural-language instructions, so marketers, content teams, founders, and other creators can make a first visual direction. Design judgment still matters when choosing and refining the final result.

What should I check before publishing an AI-generated image?

Check factual details, text inside the image, brand consistency, likenesses, trademarks, and suitability for the intended context. Give generated content the same final review as other public-facing creative work.

Create your first image with Grok Imagine Image 2.0

Start with one idea and one intended placement. Add style, lighting, composition, and mood as the direction takes shape.

Review the workflow